SafeSquid Appliance Builder (SAB)
What is SAB?
SAB (SafeSquid Appliance Builder) is a security-hardened Debian Linux ISO that installs the OS, partitions disks, and deploys SafeSquid with all dependencies in about 15 minutes.
Manual installation requires: OS hardening, optimal disk partitioning, dependency libraries, network configuration, and supporting services (Monit, BIND9). One mistake in partitioning or networking delays deployment by hours.
SAB automates all of it:
- Security-hardened Debian base
- Optimized disk layout (separate partitions for logs, cache, database)
- Pre-configured Monit (process monitoring), BIND9 (local DNS)
- All SafeSquid dependencies installed and tested
- Production-ready in 15 minutes from ISO boot
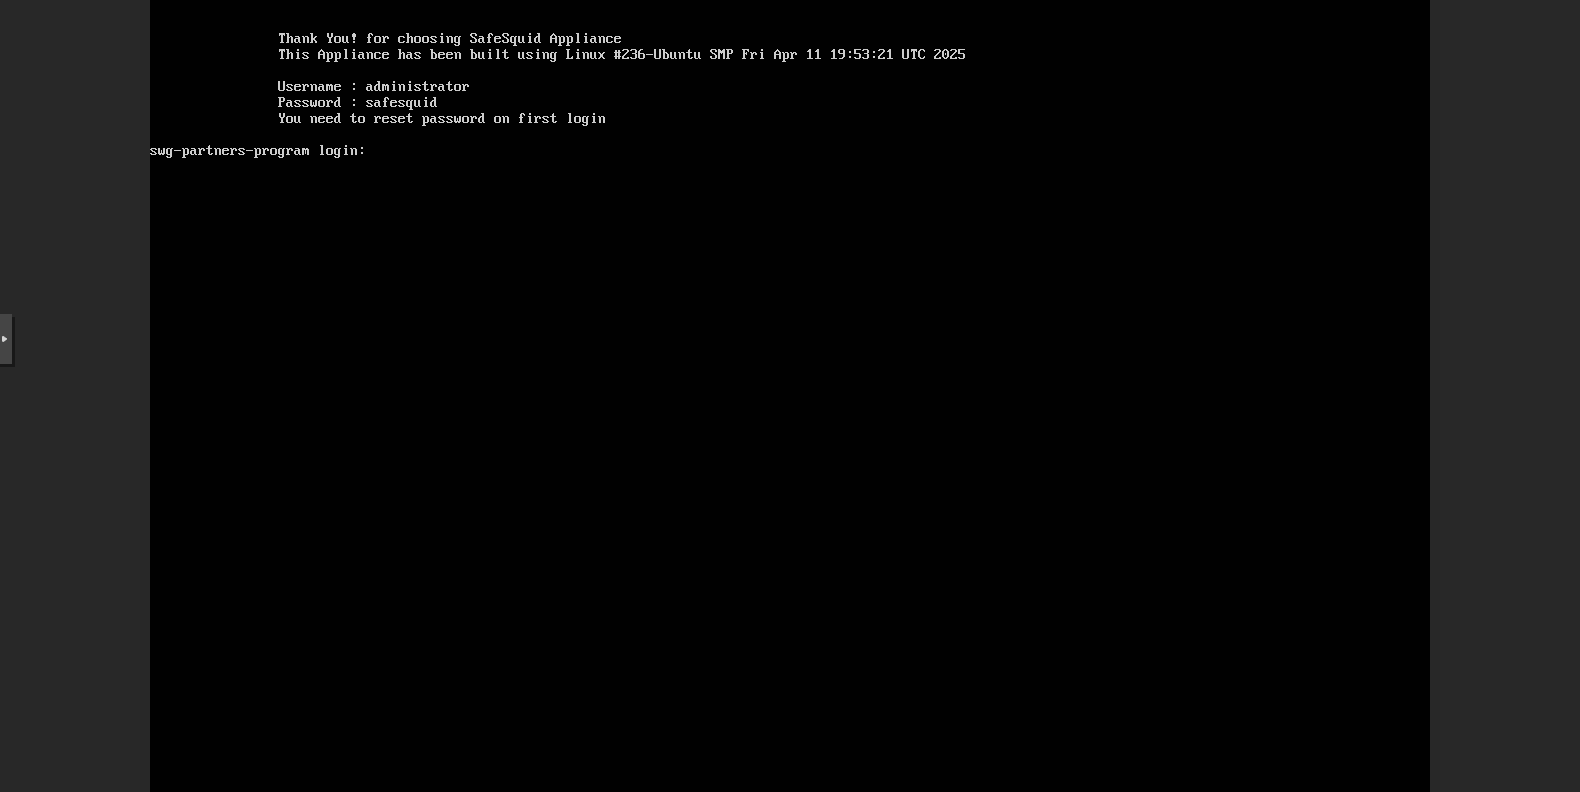
Default login: administrator / safesquid
You must change the password immediately after first login. Run passwd at the shell or change it via the SafeSquid interface after activation.
- Minimum disk: 100 GB (NVMe SSD recommended for production; includes 50 GB for OS+app + 50 GB for logs/cache)
- CPU: 4+ cores with AES-NI (required for SSL inspection performance)
- RAM: 8 GB minimum
- See Deployment Planning for full sizing guidance
Download: safesquid.iso
Before You Begin
SAB will erase and repartition the target disk. Back up any existing data before proceeding.
Prepare your activation key:
- Download your activation key from the Self-Service Portal (you'll upload it after installation)
For physical hardware:
- Burn the ISO to USB (use Rufus, Etcher, or
dd) or DVD - Set BIOS boot order: primary = USB/DVD, secondary = hard disk (to boot from installation media first)
- Verify CPU supports AES-NI (run
lscpu | grep aeson Linux; look for "aes" in flags)
For virtual machines:
- Create a VM on VMware, Hyper-V, KVM, or VirtualBox
- Attach the ISO as a virtual CD/DVD drive
- Configure networking: Bridged (recommended) for direct network access, or NAT
- Allocate minimum 4 CPU cores, 8 GB RAM, 100 GB disk
Installation Steps
Total time: ~15-20 minutes (10 min prompts + 5-10 min automated install)
-
Select Standard Installation (recommended) at the boot menu.
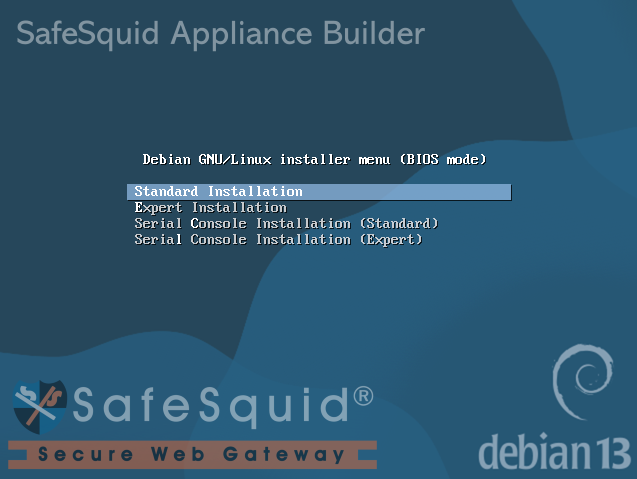 SAB Boot Menu
 -
Configure networking. Select Yes for DHCP or No for static IP.

-
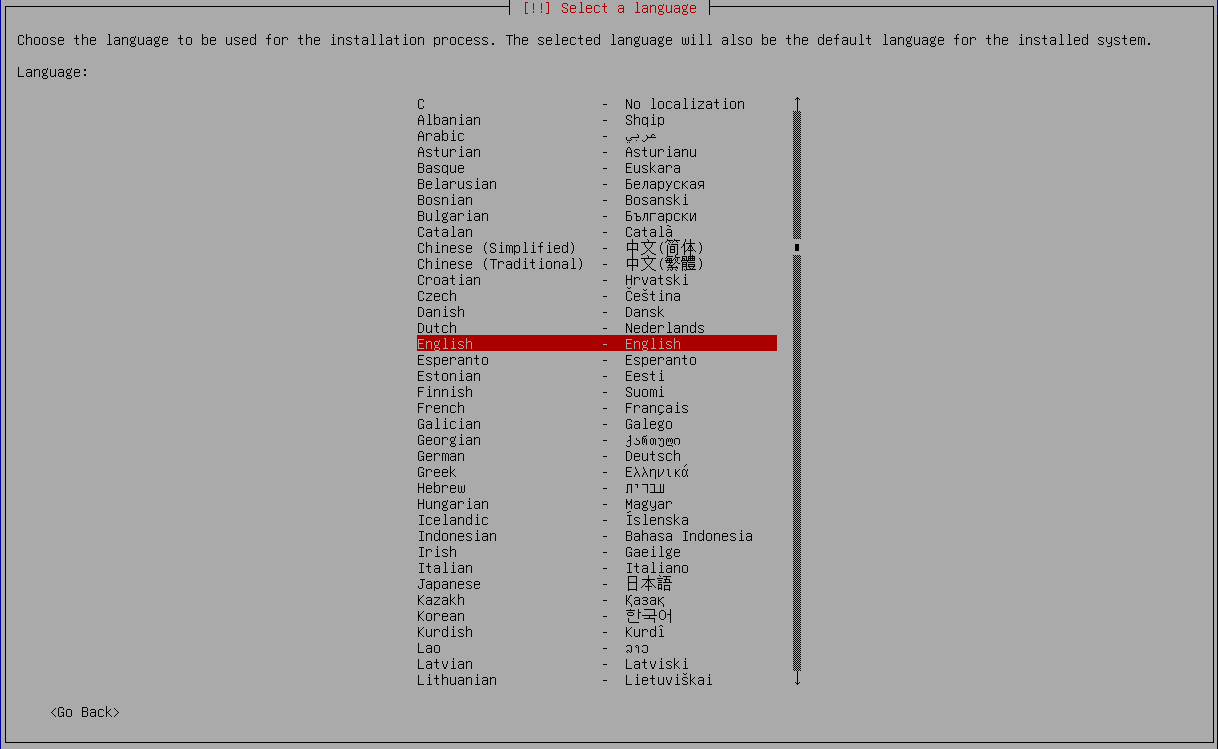
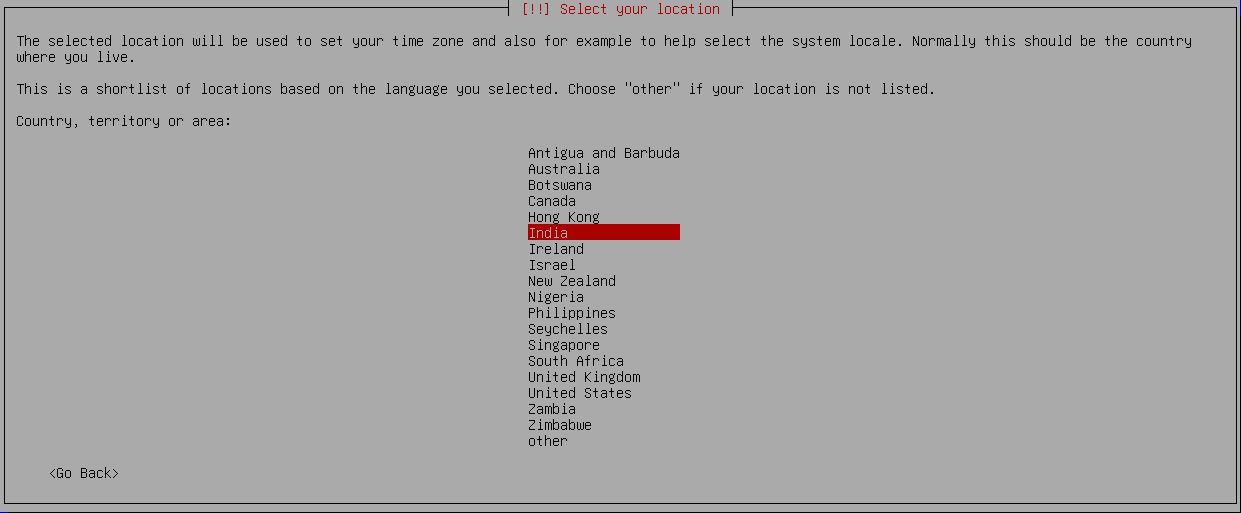
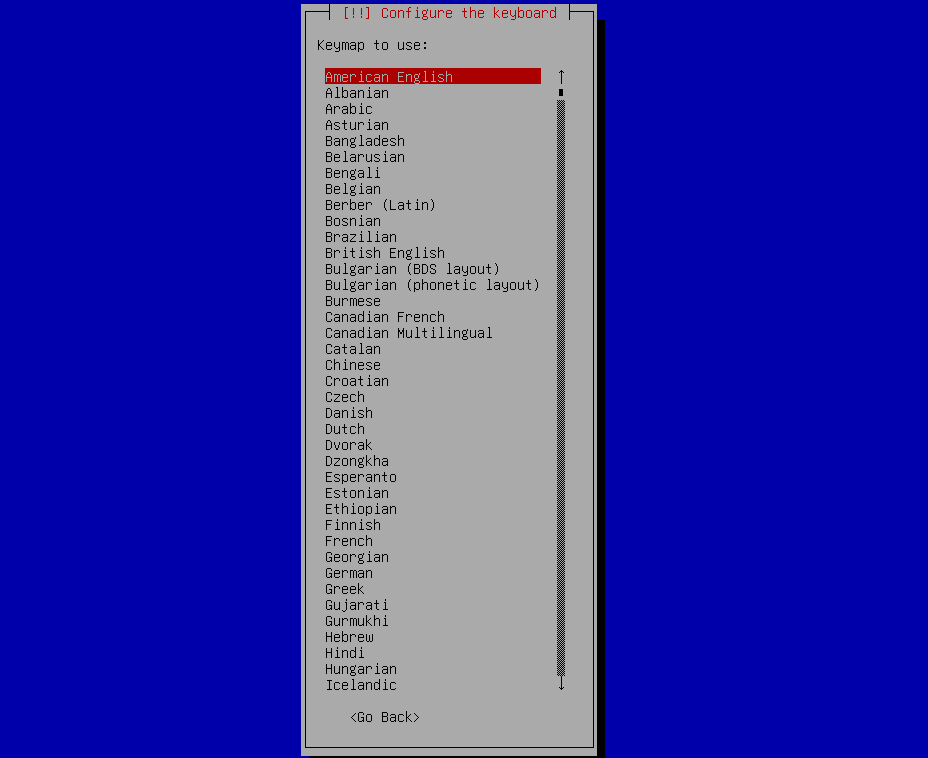
Select locale and keyboard — language, location (timezone), and keyboard layout.
-
Enter static IP details (skip if DHCP). Provide IP/CIDR (e.g.,
192.168.1.50/24), gateway, and DNS.


-
Set hostname and domain consistent with your network naming.


-
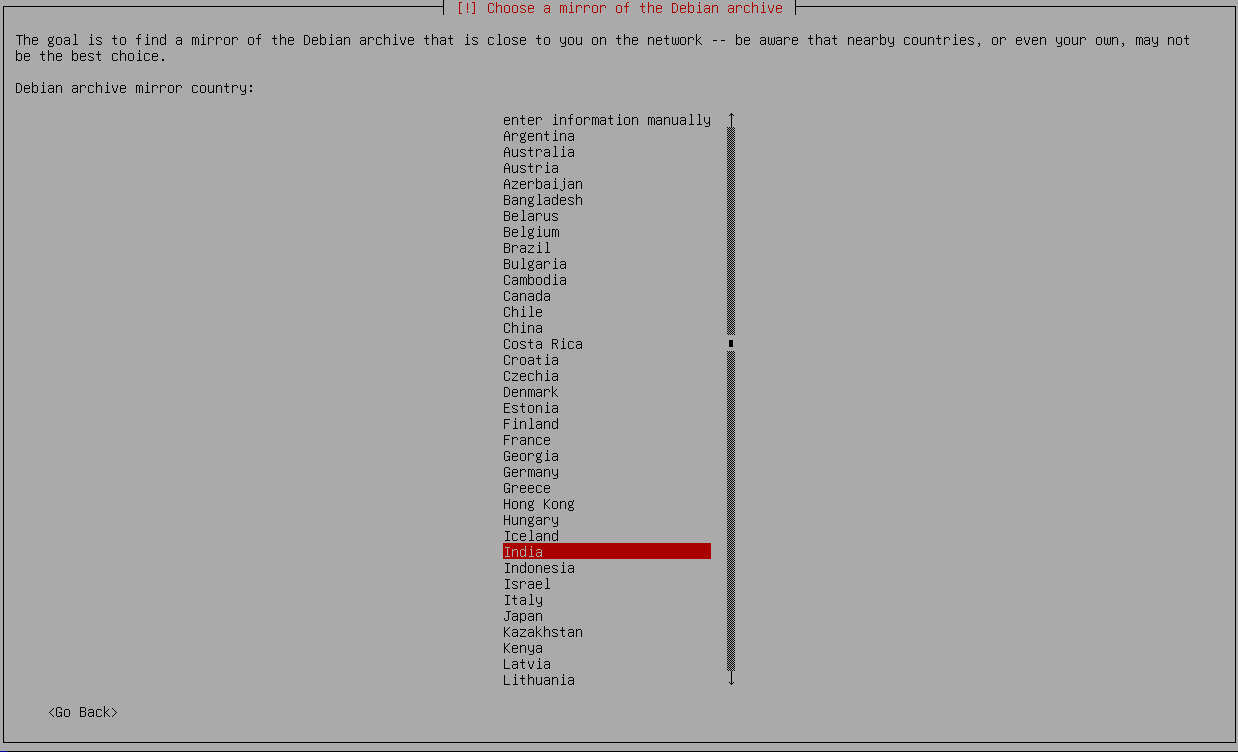
Select Debian mirror — choose the geographically nearest mirror. Leave the HTTP proxy blank unless your network requires one.
 Continue via SSH (Optional)
After network configuration completes, you can connect via SSH to the server IP and continue the installation remotely instead of using the console.

-
Confirm disk and GRUB target. SAB auto-partitions the disk. Select the target drive (typically
/dev/sda) for both partitioning and the GRUB bootloader.
 caution
Installing GRUB on the wrong drive (e.g., external USB instead of internal disk) can make the system unbootable. Confirm you selected the internal disk where SafeSquid will be installed (typically
/dev/sdaor/dev/nvme0n1). -
Wait for installation (~5-10 minutes). The automated preseed script:
- Partitions the disk (separate
/,/var/log/safesquid,/var/lib/safesquid) - Installs Debian base + security updates
- Installs SafeSquid, Monit, BIND9, and dependencies
- Applies security hardening (disables unnecessary services, configures firewall)
- Configures SafeSquid to start on boot
The system reboots automatically when complete.

- Partitions the disk (separate
-
Log in with the default credentials after reboot (administrator / safesquid).
What Gets Installed
| Component | Location / Detail |
|---|---|
| SafeSquid proxy | /opt/safesquid/ — listens on port 8080 (HTTP proxy) |
| Monit | Process monitoring and auto-restart for SafeSquid |
| BIND9 | Local DNS resolver (port 53) |
| Logs | /var/log/safesquid/ |
| Admin interface | https://safesquid.cfg/ (embedded Rest UI built into SafeSquid; accessible via proxy, NOT resolved by DNS) |
| Direct admin access | https://SERVER-IP:8443/ (before proxy is configured, or for direct access) |
Verify Installation
From the server console or SSH:
# Check SafeSquid is running
systemctl status safesquid

# Verify port 8080 is listening
netstat -lntp | grep 8080
Expected output: SafeSquid process listening on 0.0.0.0:8080
From a browser (before proxy is configured):
Navigate to https://SERVER-IP:8443/ — you should see the SafeSquid admin login.
If the interface loads and prompts for license activation, installation succeeded.
Troubleshooting
| Symptom | Likely cause | Fix |
|---|---|---|
| System does not boot from media | Boot order or secure boot enabled | Set BIOS/UEFI boot priority (USB/DVD first); disable Secure Boot |
| Installation hangs at mirror selection | Network or proxy required | Ensure outbound HTTP/HTTPS access; enter proxy details if prompted |
| "Failed to partition disk" error | Disk in use or too small | Verify disk is 100 GB minimum; disconnect other drives during install to avoid selecting wrong disk |
| Port 8080 not listening after reboot | SafeSquid failed to start | Run systemctl status safesquid and check /var/log/safesquid/safesquid.log |
| Cannot access admin interface at :8443 | Firewall blocking port | Check firewall rules: iptables -L or configure firewall to allow 8443 |
| SSH connection refused | SSH not enabled or wrong IP | Verify IP with ip addr; check SSH is running: systemctl status ssh |
Monitoring Installation Progress
During installation, you can switch between consoles to monitor progress or troubleshoot issues:
- ALT + F1: Main installation interface (default view)
- ALT + F2: Live installation log (shows real-time progress and error messages)
- ALT + F3: Shell prompt (advanced troubleshooting)
- ALT + F4: System messages
Useful commands from the shell (ALT + F3):
# Monitor installation logs in real-time
tail -f /var/log/syslog

# Check network connectivity
ping -c 3 8.8.8.8

# Verify disk detection
lsblk
Switch to ALT + F2 if:
- Installation appears stuck
- Network configuration fails
- Disk partitioning errors occur
- You need to verify the installer is still running
Next Steps
- Activate Your License — Upload your activation key to make SafeSquid fully operational
- Connect Your Client — Configure a browser to use the proxy
- Verify Your Setup — Confirm traffic flows through SafeSquid
- Enable SSL Inspection — Decrypt and inspect HTTPS traffic