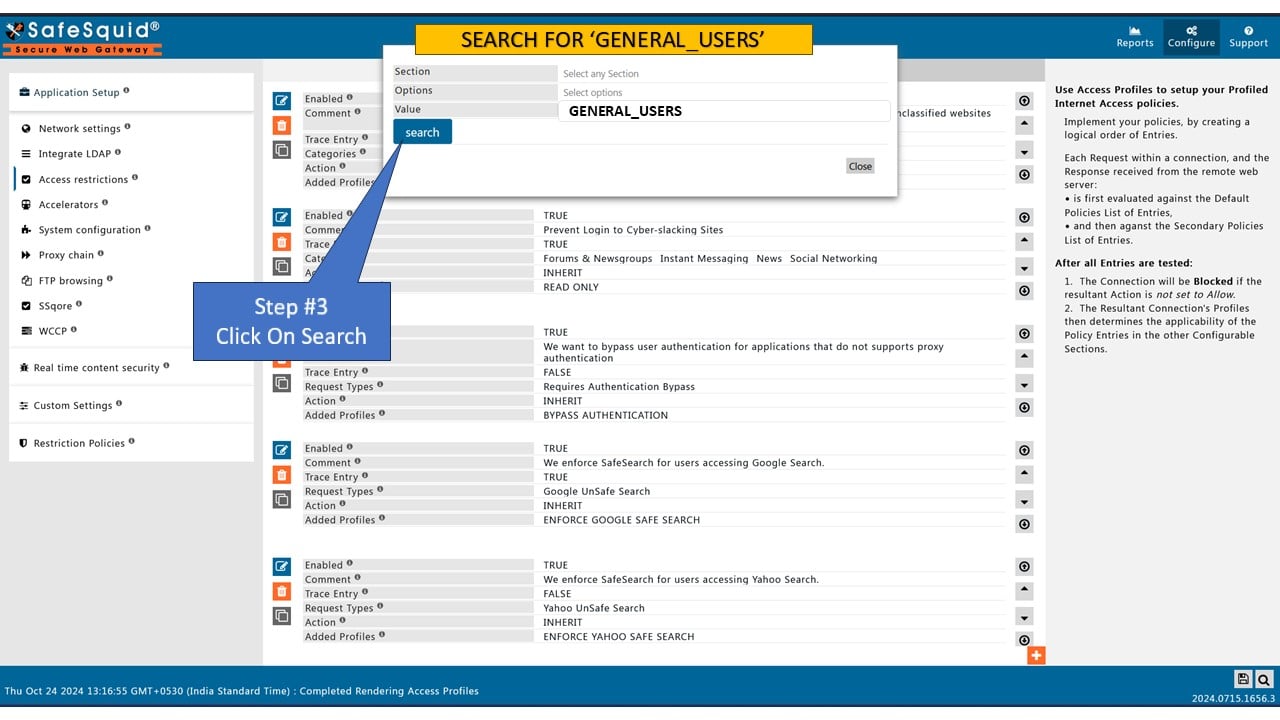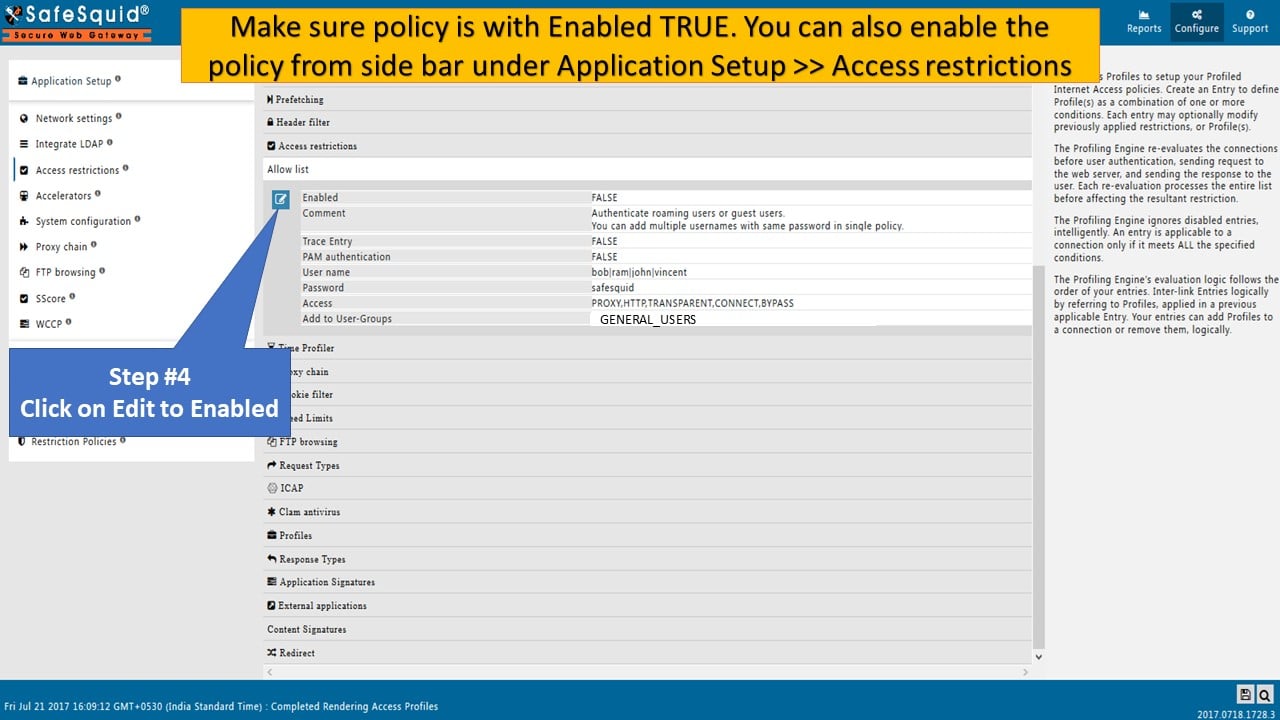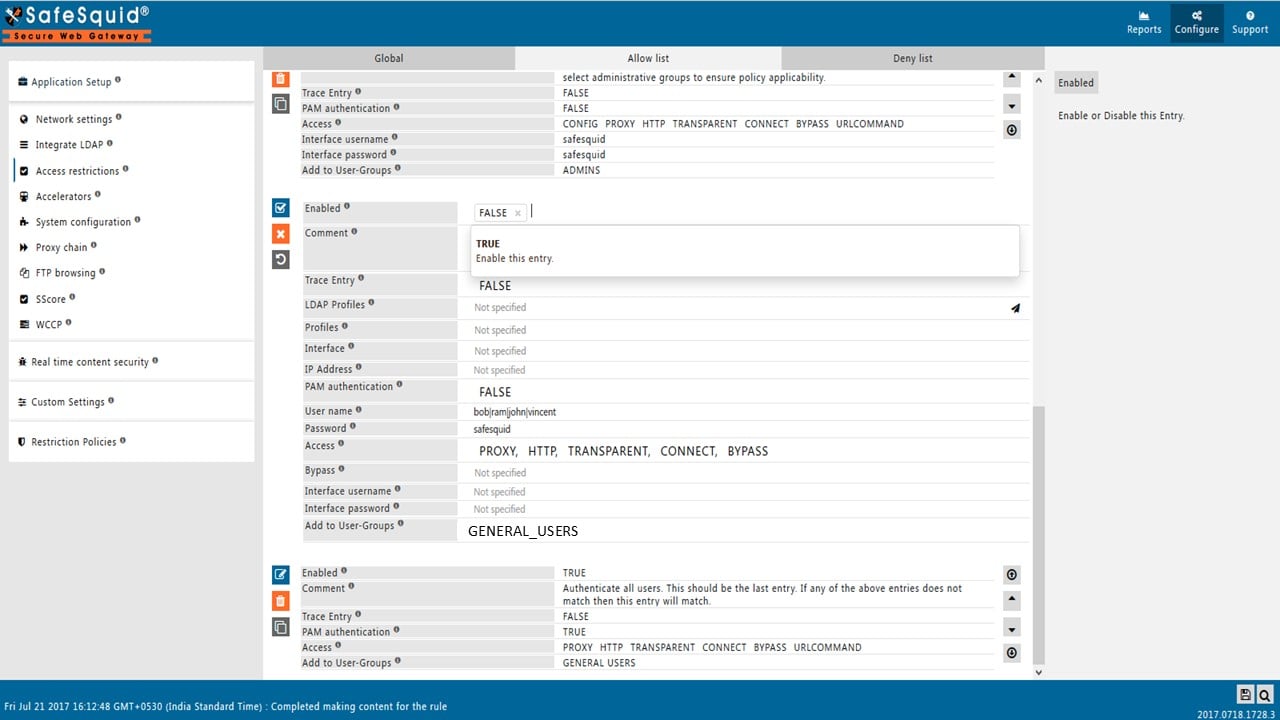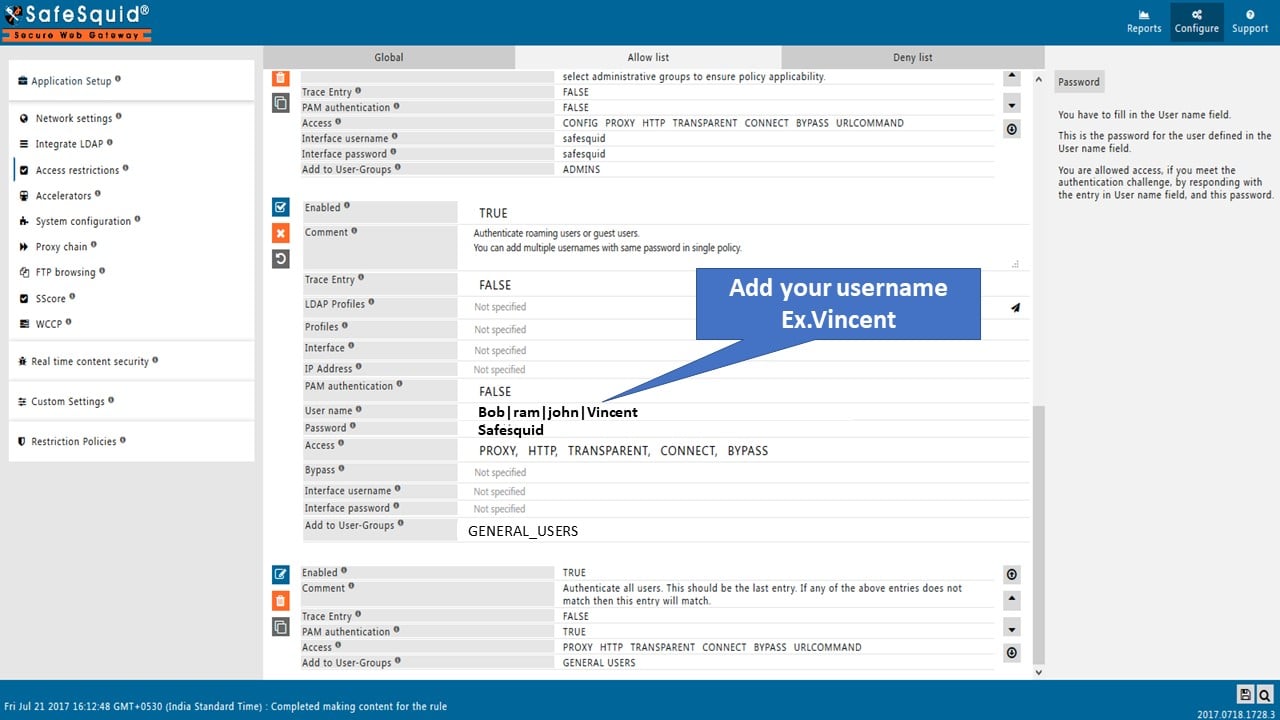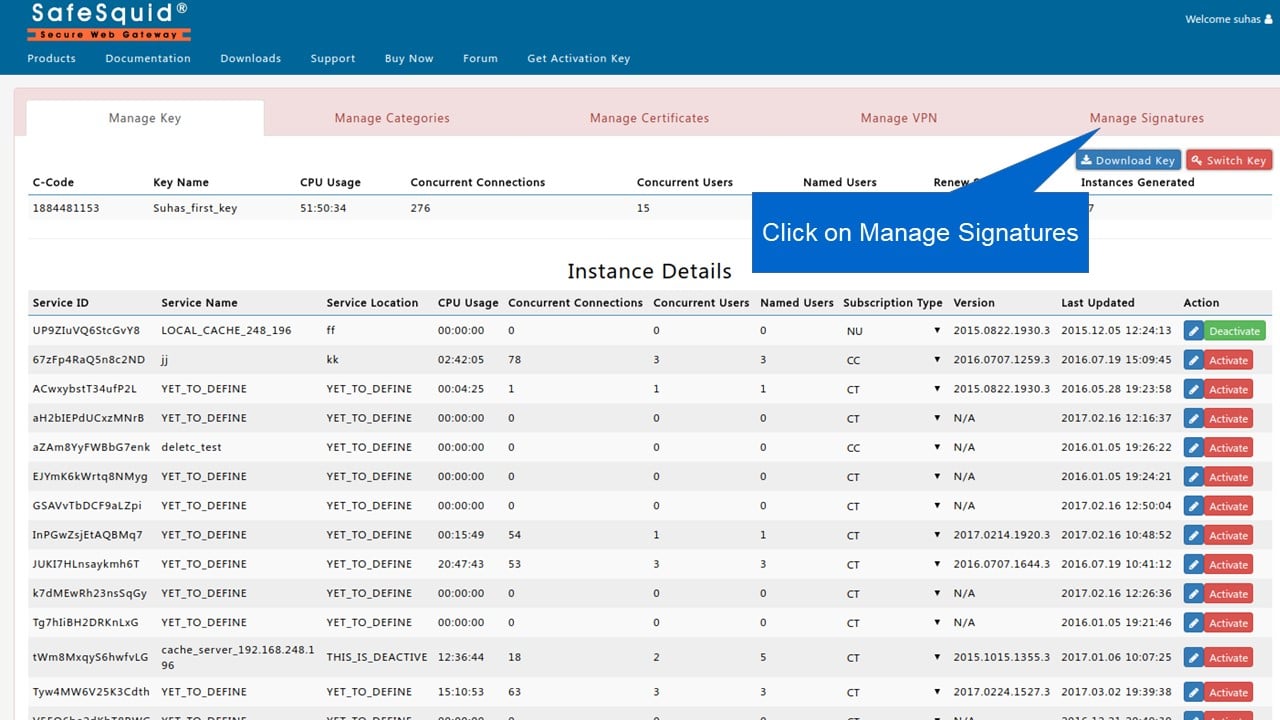
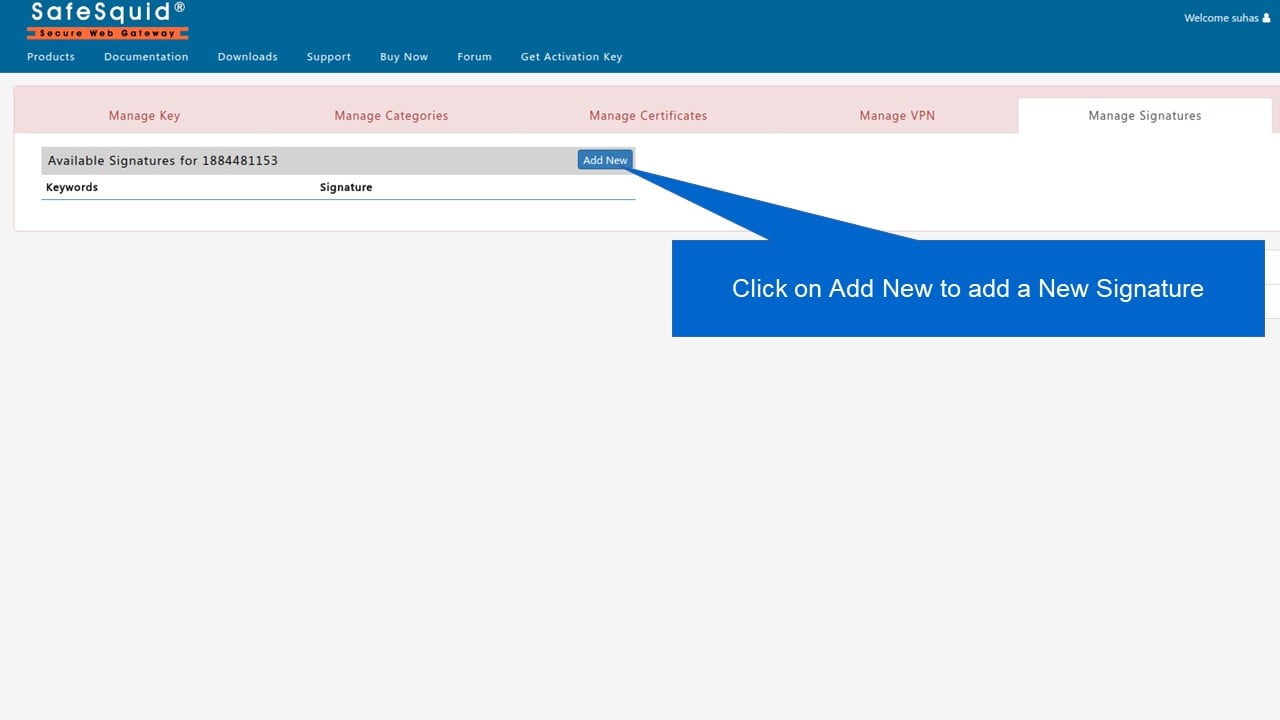
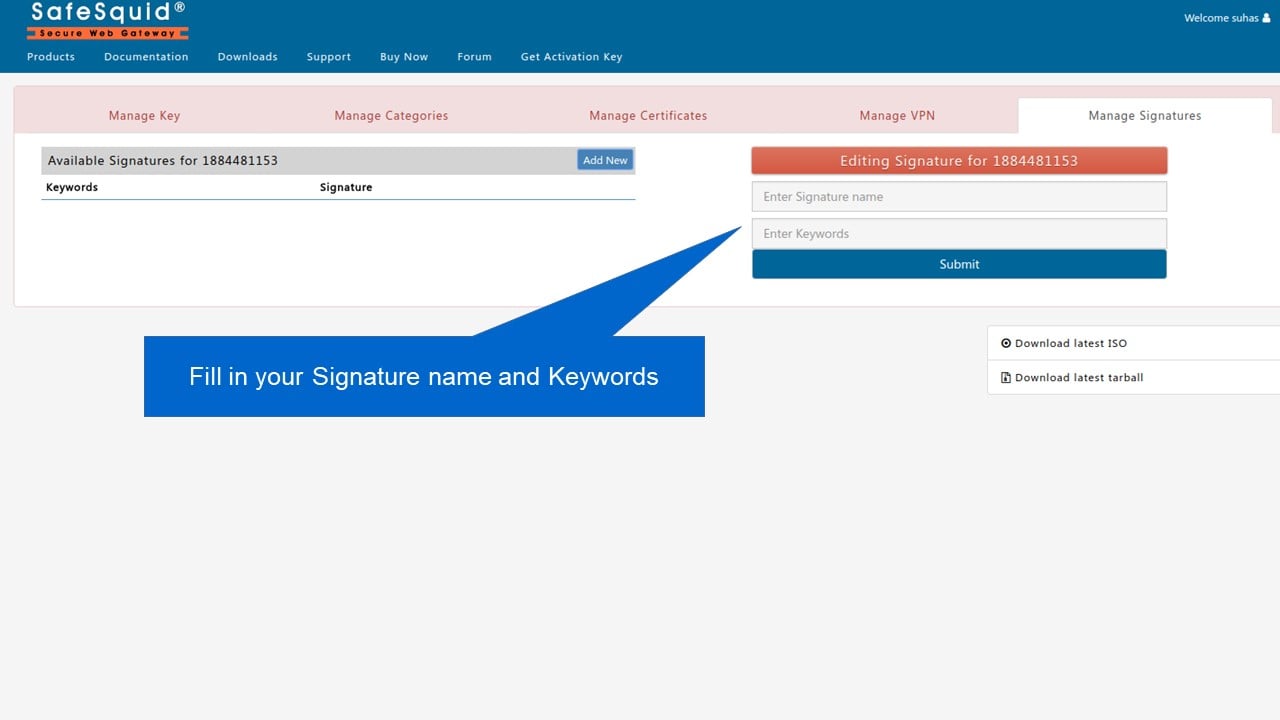
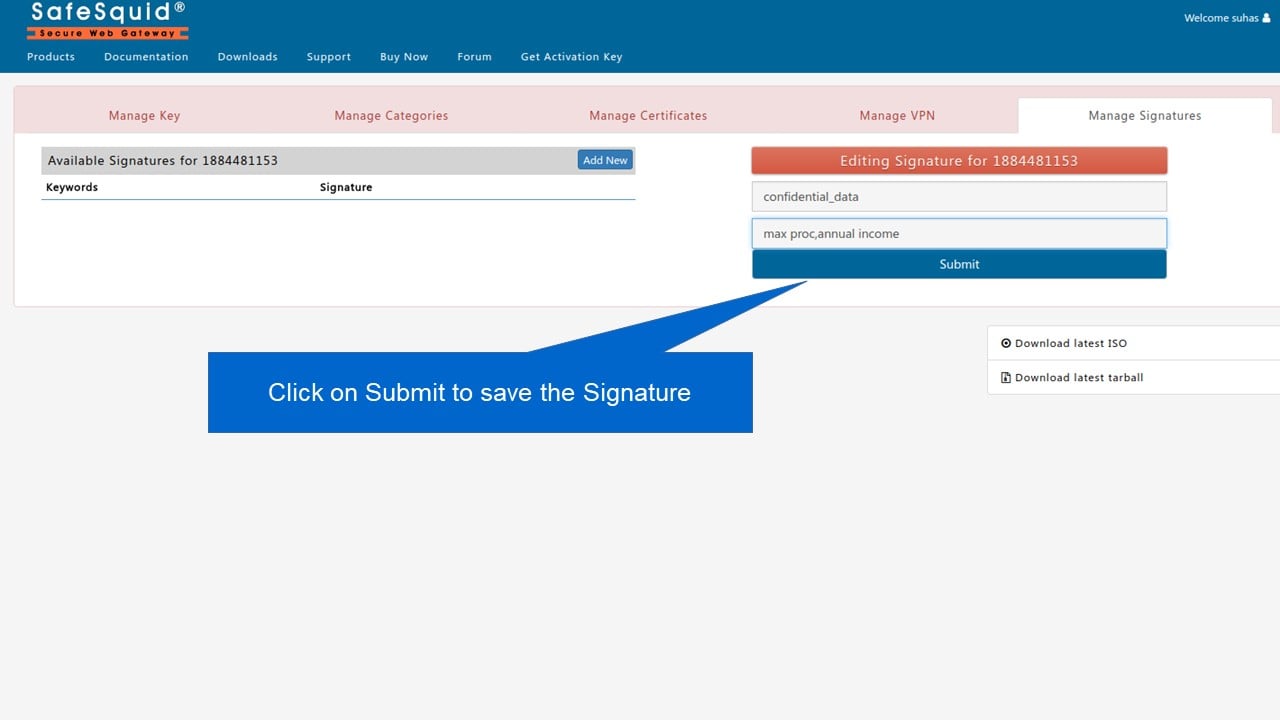
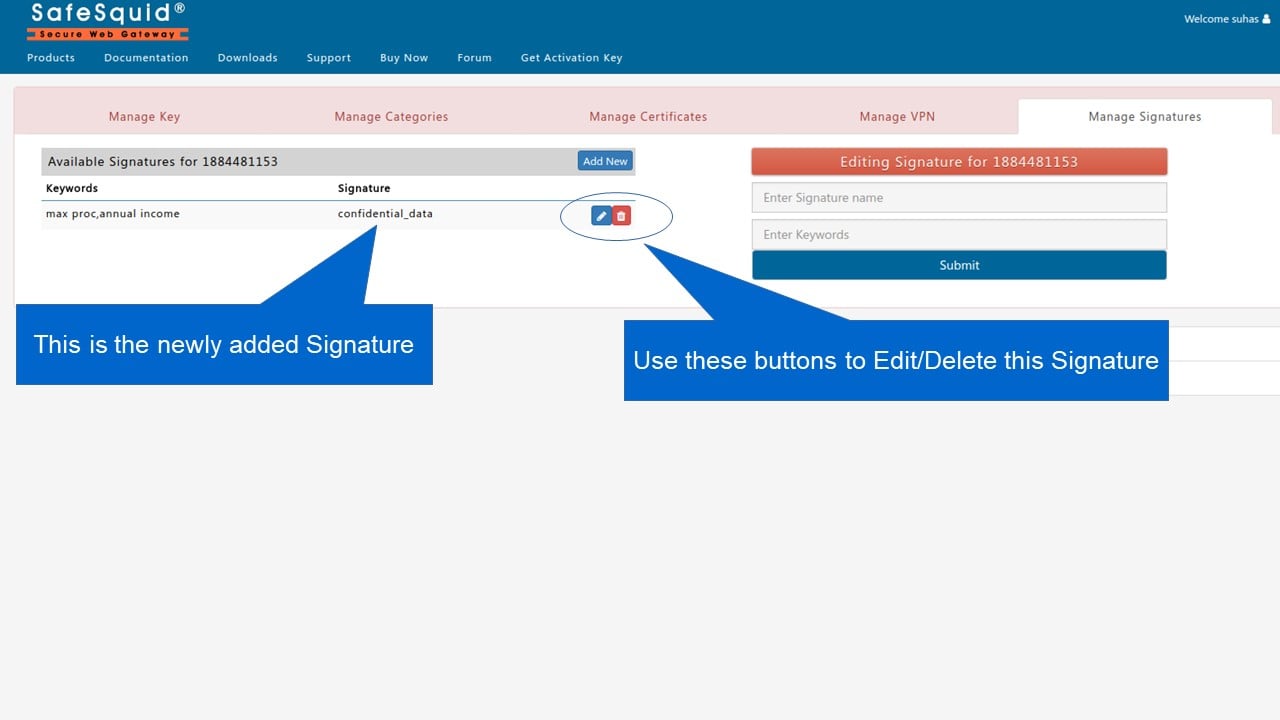
You need an active SafeSquid account with at least one activation key. Register at https://key.safesquid.com/ if needed. Log in to the Self-Service Portal at https://key.safesquid.com/. Select manage signatures option to Manage Keyword Signatures using Self Service portal (https://key.safesquid.com/) Click on Add to add New signature using Self Service portal Fill up signature name and keywords to manage keyword signatures using self service portal Click on submit to save the signature to manage keyword signatures using self service portal Newly added signature can be view after click on submit to save the signature To know more about this feature follow link Block Emails or Files including archives or Social Posts using Keywords

Adding users using SafeSquid interface for authentication

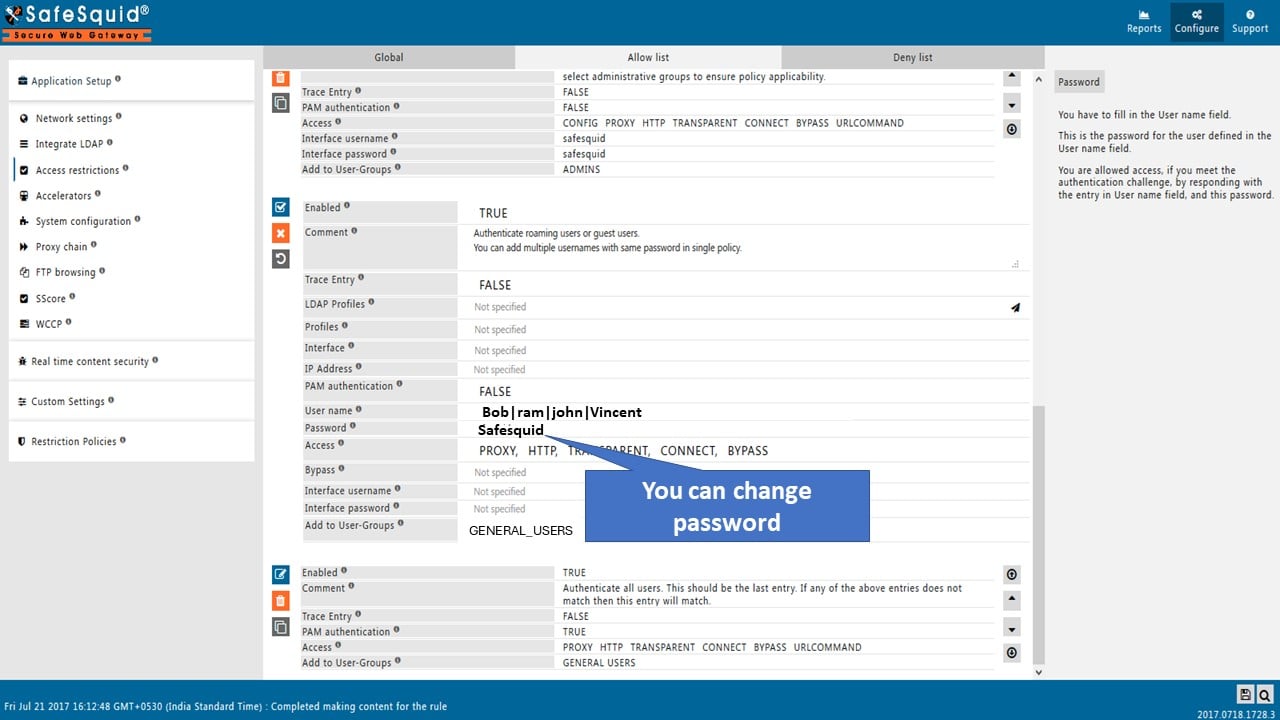
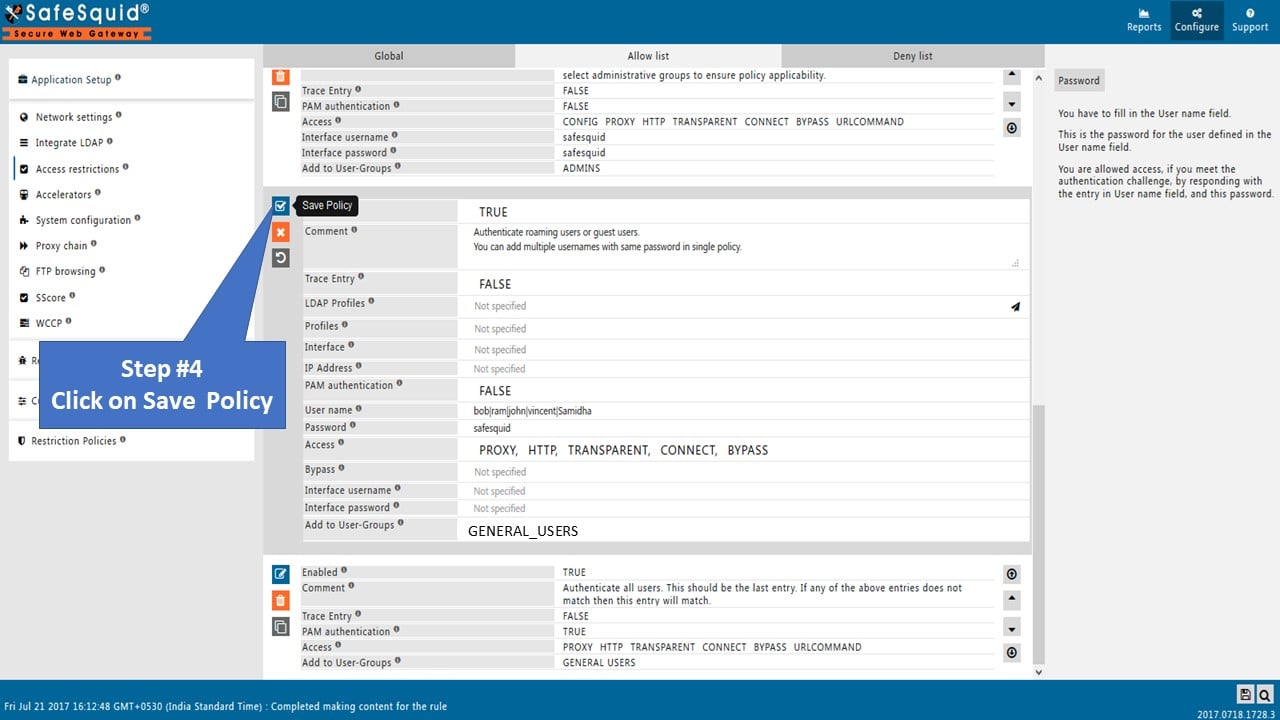
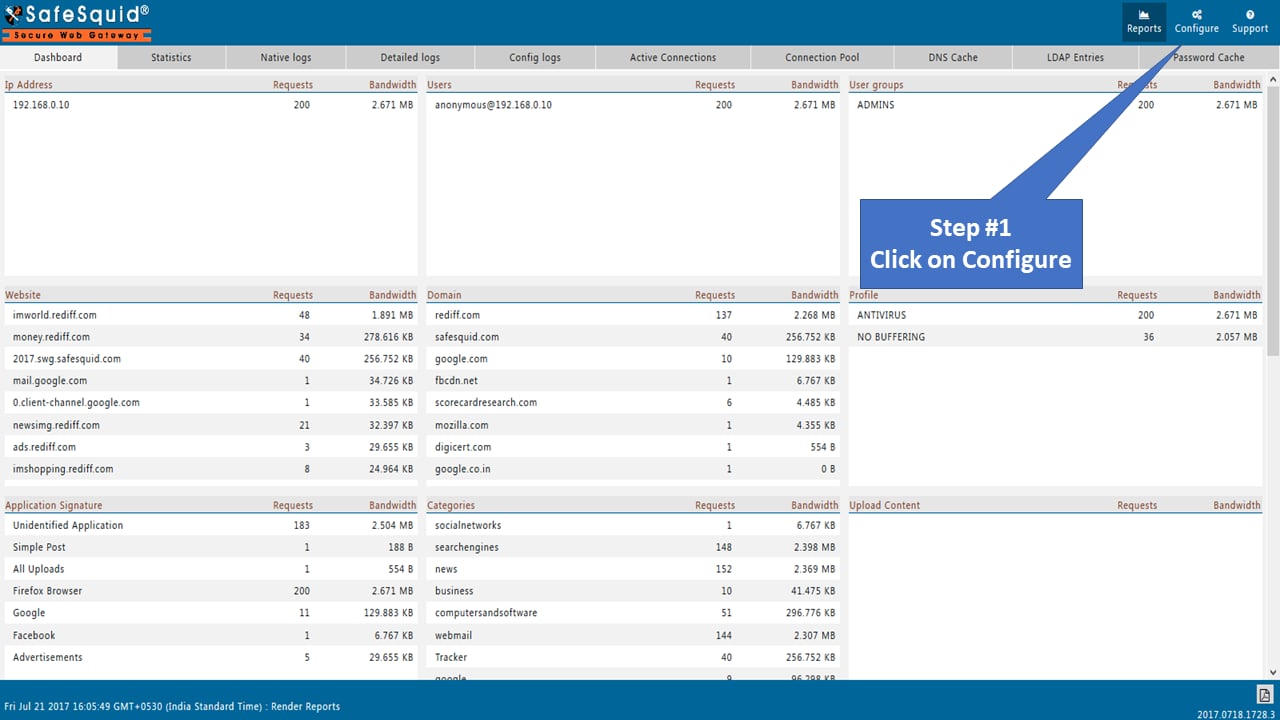
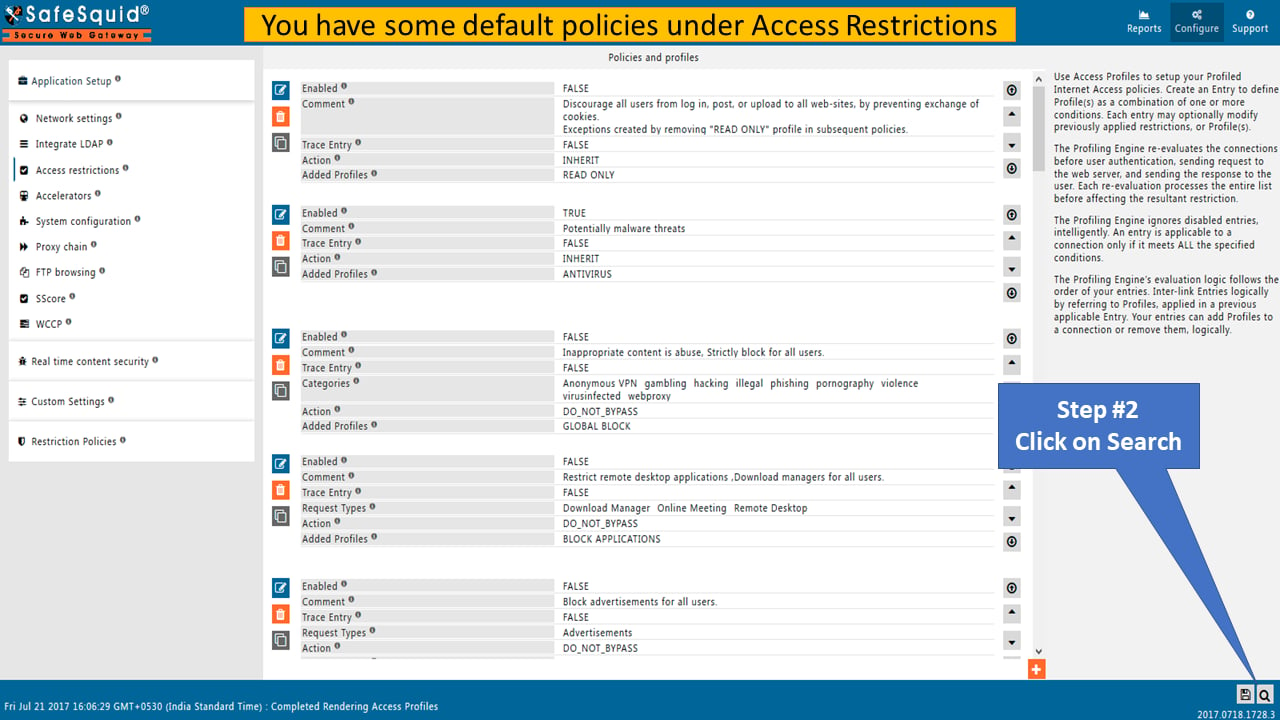
When no Active Directory (AD) server is available for SafeSquid LDAP, administrators can authenticate users by assigning usernames and passwords via the SafeSquid interface. clicking on configure in safesquid interface click on search in access profiles Application Signatures or user list in SafeSquid interface Application Signatures add or edit entry Application Signatures policy form Application Signatures save or submit Application Signatures list with new entry Application Signatures configuration applied
Next steps