Standard Installation on physical machine
Language Selection
English is the default selected language. Change it only, if you are not very comfortable with English.

Country Selection
Select your country as the location.This selection is related to ensure correct time settings of the system.

Keyboard layout Selection
Select the keyboard layout that matches the origin of the keyboard attached to the system.

Network interface selection
All network interfaces detected in your system are displayed. Select the interface that has Internet connectivity as the primary.

Assign IP address to the primary interface

Setting up the Netmask

Gateway Setting
Set the IP address of your network gateway, usually your router.

Specify DNS
Specify the IP of your preferred DNS. If you have an Active Directory Service, set this to the IP address of the Directory Server (AD). This DNS is used only during the installation. The SAB sets up a caching name server that uses the Root DNS for serving your users.

Note:If you want to Integrate a Linux Host with a Windows AD for Kerberos SSO authentication in future you must have to specify Name Server Addresses as your Active Directory Server.
If you miss to specifyName Server Addresses as your Active Directory Server , you have another option to change the Name Server Addresses as your Active Directory Server.
- When you will be entering successfully into the SafeSquid SWG which is last step of Standard Installation edit the file path using below command on console
vim /etc/network/interfaces
|
This file describes the network interfaces available on your system The loopback network interface The primary network interface
|
- Edit yourdns-nameservers 192.168.221.1 as your IP address of Active Directory Server and restart networking service using below command.
/etc/init.d/networking restart
 |
Hostname of Your Server
Integration with your Active Directory Service, requires proper assignment of the Fully Qualified Domain Name.
It is therefore strongly recommend to carefully select the the desired hostname for your secure web gateway. The default host name is SWG.

Domain name Setting
The domain name setting is also very important, if you plan to integrate it with your active directory.

NTP server Configuration
By default, ntp server has been set to pool.ntp.org . If you have your own ntp server, then you may set to that address for clock synchronization between computer systems to some time reference.

Note : If you want to Integrate a Linux Host with a Windows AD for Kerberos SSO authentication in future it is advisable to specify Time Synchronisation Server as your IP address of Active Directory server space pool.net.org (There should be a single space in between AD IP address and pool.ntp.org ) 192.168.221.1 pool.ntp.org
.PNG") |
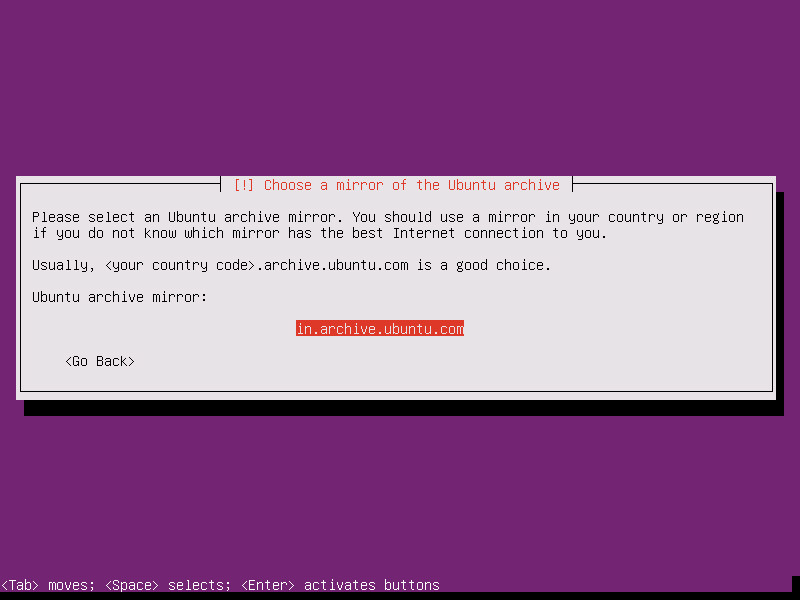
Choose a mirror of the Ubuntu archive
Select the country for ubuntu archive to download required packages

HTTP proxy Setup
This field should be blank

Loading Additional components
It will load additional components automatically.

Configure the Clock
Using Yes or No you can configure the clock.You need to scroll down and search your continent and time zone nearby location.

Partition disks
.PNG")
.PNG")
Installation of base system
It will automatically install the base system. It takes little bit of time to install completely.

Configuring the apt
It will configure apt packages one after the other in this process.

Select and install software
Here it install the OS.

Finishing installation
Finishing the installation is the last step in installation.

At last, the system reboots and goes through system initialization. Afterward, a welcome screen appears with SafeSquid(Secure Web Gateway) screen.
 screen..png")
Login to the Server
If you observe the screen by default it will give you username along with the password.You need to enter the same username and password for first login.
- User name: administrator
- Password : safesquid

You need to reset the password on the first login.

You will be entering successfully into the SafeSquid SWG.

Note:
If you are doing standard installation on Physical machine'usingUSB bootable pendive Link'
Also after installation has been completed with USB bootable pendive and initial login with administrator ( sudo -i )
Run grub command to install grub MBR on first disk /dev/sda
Commands:
| grub-install /dev/sda |
| update-grub |
| reboot |
| (Remove the USB bootable pendive) |
As soon as you remove the USB bootable pendrive it should display prompt for login.
(Above commands only required to run if it is displaying the blank screen after removing USB bootable pendrive)