Setup Captive Portal With SafeSquid
From Secure Web Gateway
Overview
Captive portal based authentication is different from proxy authentication.
In captive portal based authentication, the entire authentication process is done using landing page and IP locking against username.
So you should not enable any kind of proxy authentication further using access restrictions.
Setup
If you did not deploy the SafeSquid go through this page - Getting Started
If you already deployed the SafeSquid then follow the below steps
- Enable HTTPS inspection
- Integrate your LDAP server with SafeSquid for LDAP authentication.
- Integrate your PAM service for PAM authentication in case you don't have Active Directory for LDAP configuration. Add PAM user and set password.
- Enable Authentication for Users to whom you want to land on captive portal log-in page.
- Add/ Modify policy for Captive portal user authentication under Access Restriction.(Keep username and password field blank)
- Save the configuration.
- Enable Captive portal default policy on SafeSquid.
- Add redirection rules in your router or in SafeSquid Server (In Linux Box)
- Restart SafeSquid service
- Use SafeSquid as a router for your WIFI Network
- Enable Wi-Fi on your mobile and do proxy configuration.
- Configuration on mobile with transparent mode
- Select Proxy as None among None, Manual, Proxy Auto-config. (Options may differ on various mobile)
- You have to select static IP under IP settings.
- Configure mobile IP address.(You can use default mobile IP address)
- Configure gateway as proxy IP.
- Configure network prefix length and DNS.
- Click on modify network button and enter your WIFI password.
- Save password and Click on OK button.
- Reset your Wi-Fi OFF and ON.
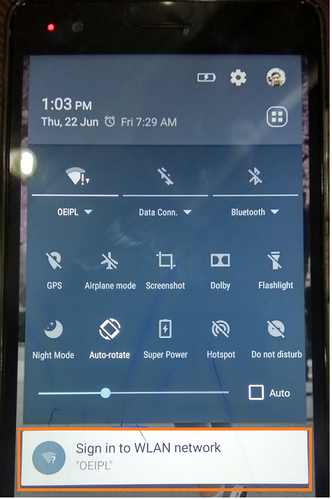
- As soon as you turn your Wi-Fi ON you will get SafeSquid Captive portal LOGIN button.
- Configuration on mobile without transparent mode
- Select manual proxy and set proxy IP and Port (8081)
- You have to select static IP under IP settings.
- Configure mobile IP address.(You can use default mobile IP address)
- Set your default gateway.
- Configure network prefix length and DNS.
- Click on modify network button and enter your WIFI password.
- Save password and Click on OK button.
- Reset your Wi-Fi OFF and ON.
- As soon as you turn your Wi-Fi ON you will get SafeSquid Captive portal LOGIN button.
- Click on Login button

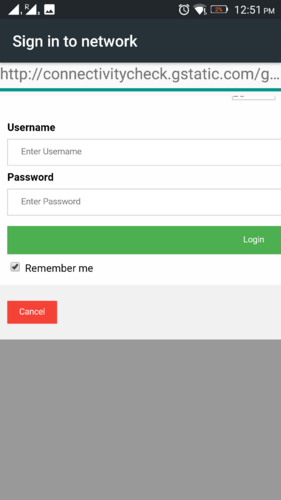
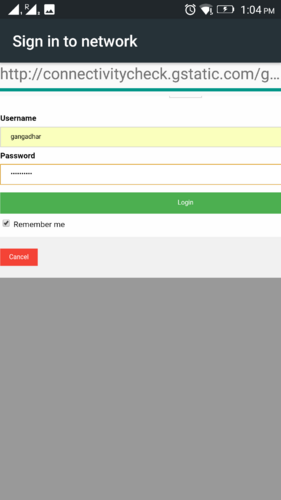
- Enter valid credentials and click on Login button.
- Access any website on your mobile browser.
Note : You must import SafeSquid Root CA certificate into the mobile setting.
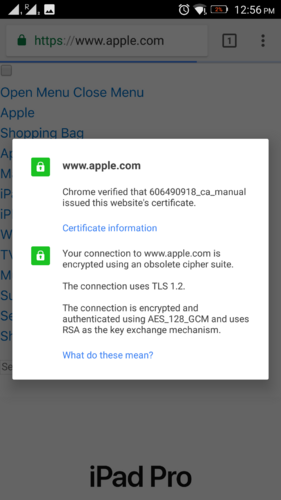
- You might get block template for any website on your browser as per your policy configuration.(Verify your profile and filter reason)
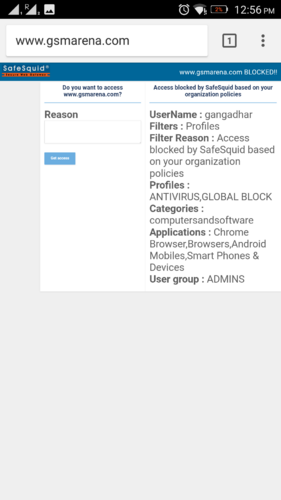
- To test captive portal on LAN network with transparent mode
- Remove Proxy Settings from Browser
- Configure Network
- When you browse any website you will get SafeSquid Captive portal LOGIN button.
- To test captive portal on LAN network without transparent mode
- Preserve default proxy IP and set Port as 8081.
- When you browse any website you will get SafeSquid Captive portal LOGIN button.