

Build the Standard Appliance
Installing SafeSquid by hand means hardening the OS, partitioning disks correctly, resolving dependency libraries, configuring networking, and standing up Monit and BIND9. One mistake in partitioning or networking costs hours — and it costs them again on the next node, because nothing about the build is repeatable. SafeSquid Appliance Builder (SAB) is a security-hardened Debian ISO that does all of it from one boot. You answer a short sequence of prompts; a preseed script does the rest and reboots into a working appliance.Use this method when
Use SAB when:- You are building a new dedicated SafeSquid appliance.
- The deployment can boot from an ISO.
- The organisation wants a repeatable baseline instead of adapting an existing server.
- You need a clean VM or hardware appliance for production, pilot, or DR testing.
Know what SAB automates
The separate log and cache volumes matter more than they look. A shared root volume that fills stops the appliance and truncates the audit trail at the same time.
Validate prerequisites
Before booting the ISO, confirm:- CPU, RAM, disk, and NIC allocation match the sizing plan in Hardware Sizing.
- The CPU exposes AES-NI. SSL inspection performance depends on it.
- The VM or hardware can boot from the SAB ISO.
- Static IP, gateway, DNS, and NTP values are approved and unique within the subnet.
- Outbound access is available for packages, updates, activation, and subscription checks. See Ports and Firewall Rules.
- The activation key is available for post-install activation. Obtain it from Register Your Key.
- A rollback or rebuild plan exists for the VM or hardware.
Prepare physical hardware
Prepare physical hardware
-
Write the ISO to USB or DVD. Rufus, Etcher, and
ddall work for USB; ImgBurn for CD or DVD. Use whichever is approved for the administrator workstation. - Set the BIOS or UEFI boot order so the removable media is tried before the internal disk, and disable Secure Boot if the installer will not start.
-
Confirm the CPU exposes AES-NI before committing the hardware:
Expected result:
aesappears in the CPU flags. If it does not, HTTPS inspection will be substantially slower on this host — see the AES-NI requirement in Hardware Sizing.
Prepare a virtual machine
Prepare a virtual machine
SAB runs on both Type 1 and Type 2 hypervisors. On a Type 2 hypervisor such as VirtualBox or VMware Workstation, host-to-VM connectivity has to be established deliberately.
- Create the VM on VMware, Hyper-V, KVM, or VirtualBox.
- Attach the ISO as a virtual CD or DVD drive.
-
Choose the network mode:
Bridged is the recommended choice. NAT complicates client routing and certificate testing later.
- Allocate CPU, RAM, and disk according to the approved sizing plan, and confirm the hypervisor actually reserves them rather than overcommitting.
Prepare physical hardware
Prepare physical hardware
-
Write the ISO to USB or DVD. Rufus, Etcher, and
ddall work; use whichever is approved for the administrator workstation. - Set the BIOS or UEFI boot order so removable media is tried before the internal disk.
-
Confirm the CPU exposes AES-NI before committing the hardware. SSL inspection performance depends on it:
Expected result:
aesappears in the CPU flags. If it does not, HTTPS inspection will be substantially slower on this host.
Prepare a virtual machine
Prepare a virtual machine
- Create the VM on VMware, Hyper-V, KVM, or VirtualBox.
- Attach the ISO as a virtual CD or DVD drive.
- Configure networking as bridged so the appliance holds a routable address on the client network. NAT works for an isolated lab but complicates client routing and certificate testing later.
- Allocate CPU, RAM, and disk according to the approved sizing plan, and confirm the hypervisor actually reserves them rather than overcommitting.
Install the appliance
1
Boot the ISO and choose an installation mode
Attach the SAB ISO and boot the target host from it. The menu offers Standard Installation, Expert Installation, Serial Console Installation (Standard), and Serial Console Installation (Expert).Confirm Standard Installation is selected. It is the recommended path and the one this page documents.If the host is reachable only over a serial console, use the matching serial variant — the prompt sequence is the same.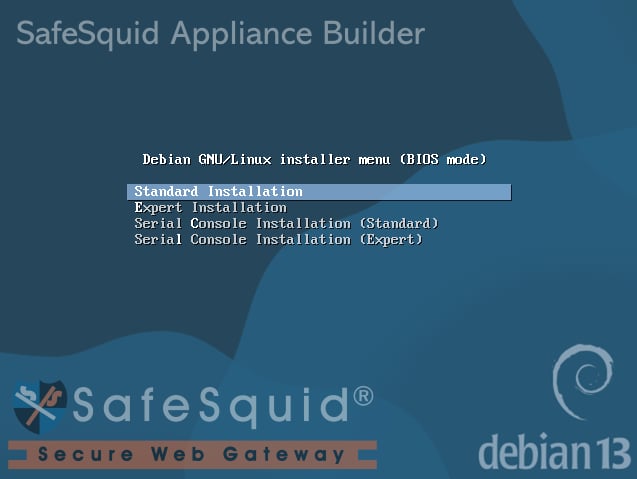
2
Choose DHCP or static addressing
Select Yes to configure networking automatically by DHCP, or No to assign a static address manually.Confirm the choice matches the approved network plan. Production appliances use a static address.If DHCP is selected for a production host, restart the installer — a proxy whose address moves breaks every client that points at it.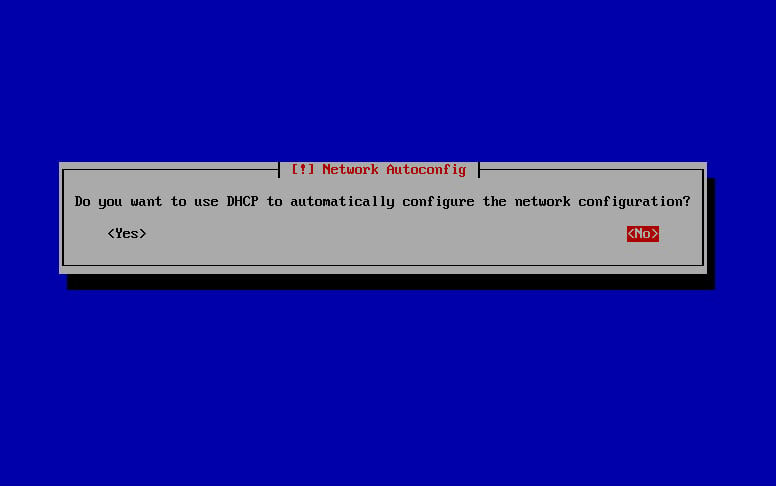
3
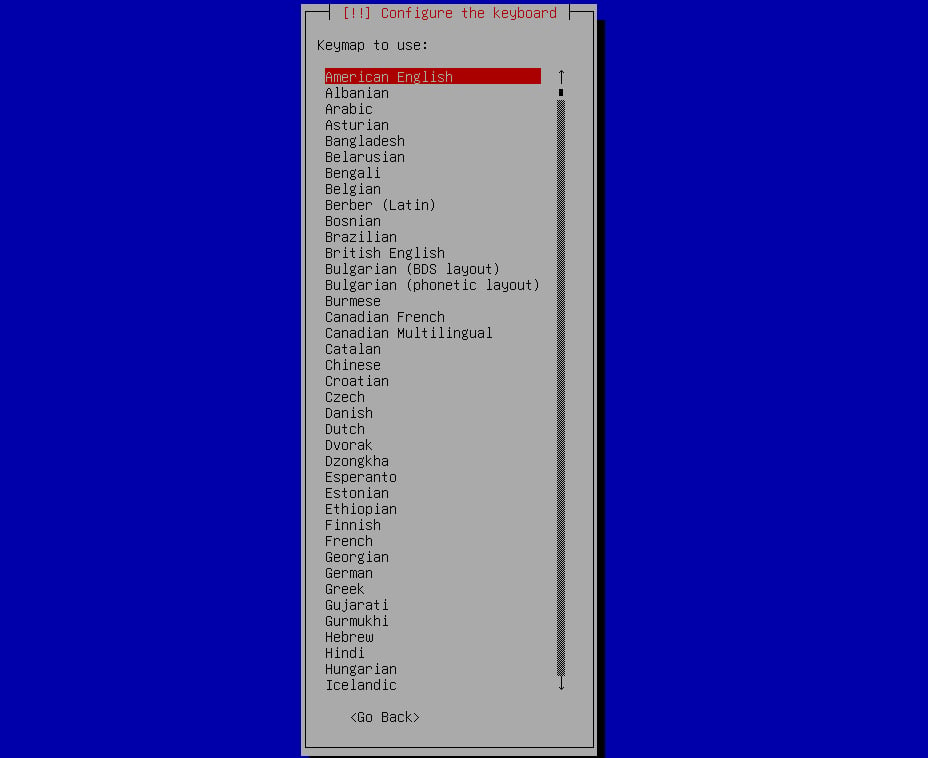
Select language, location, and keyboard
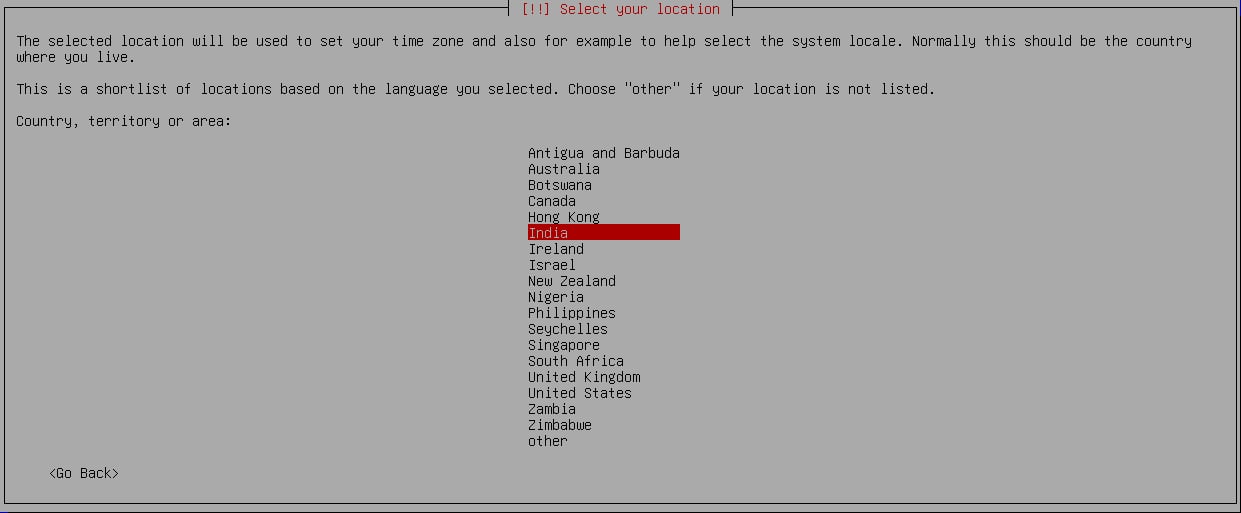
The language applies to both the installer and the installed system. The location sets the appliance time zone. The keyboard layout follows the keyboard’s country of origin.Confirm the time zone matches the one your log timestamps must correlate against, and the keyboard layout matches the hardware.If the time zone is wrong, log entries will not line up with other systems during an incident. A mismatched keyboard layout causes input errors on non-standard keyboards, which is easy to misdiagnose while typing a password.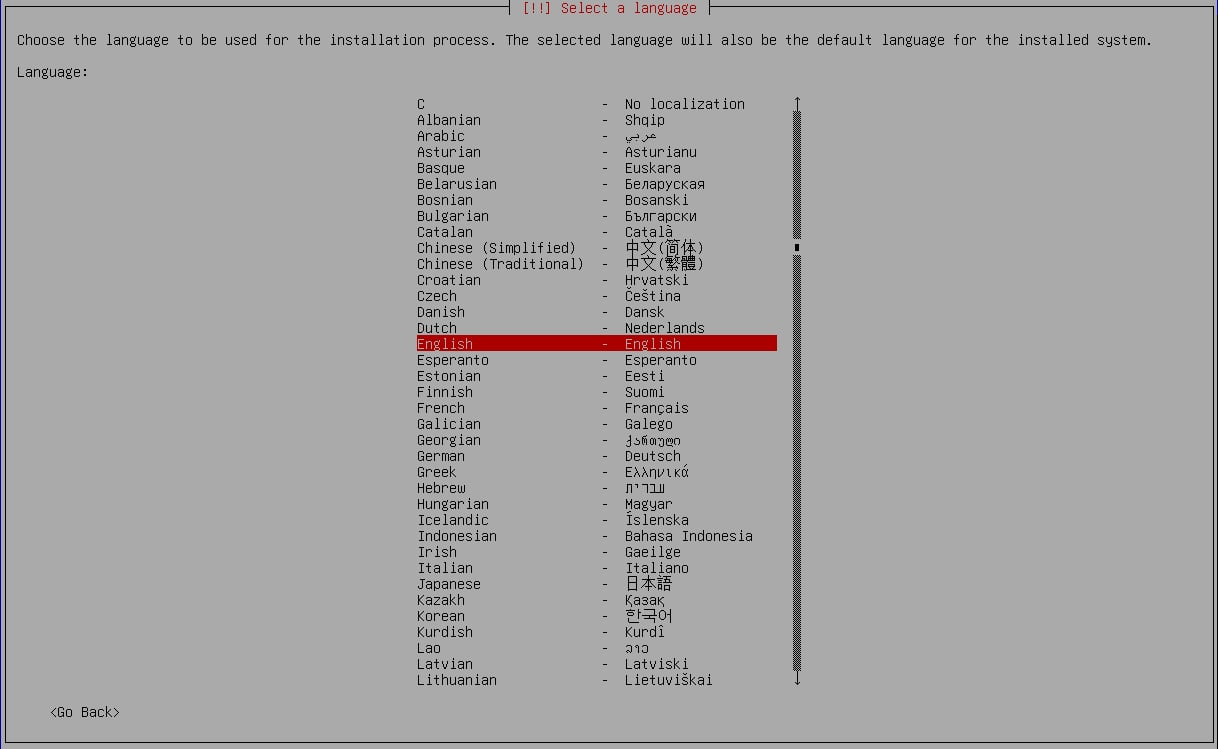
4
Assign the static IP address
Skip this step if DHCP was selected. Otherwise enter the address with its CIDR prefix appended, in the form 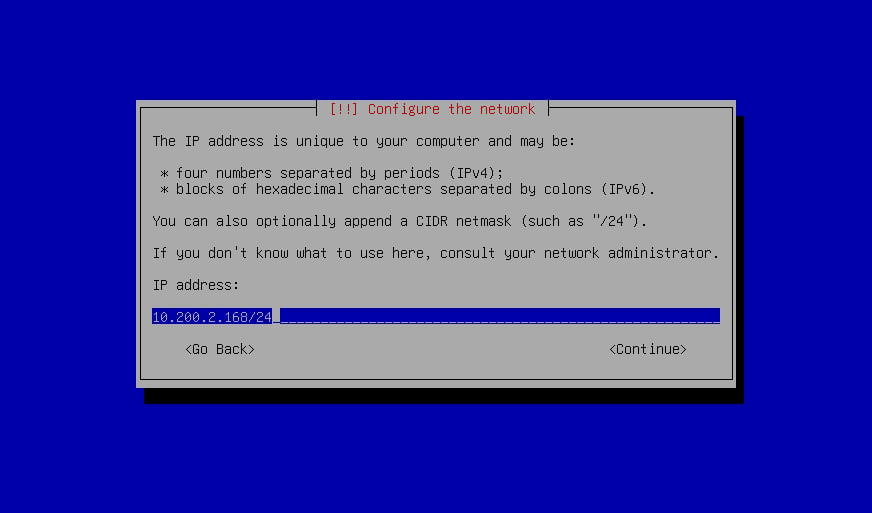
IP/subnet — for example 192.168.1.50/24.Confirm the address falls inside the subnet range the network team defined, and is unique on that network.If the address collides with an existing host, the conflict surfaces intermittently after rollout rather than at install time. Check the allocation record before continuing.5
Specify the gateway
Enter the default gateway address. Where a router forwards traffic from the local network to other networks, that router’s address is the gateway.Confirm the gateway is reachable from the address you just assigned, not merely that it is correct in general.If the gateway is unreachable, the installer fails later at mirror selection rather than here, so the real cause surfaces several screens away.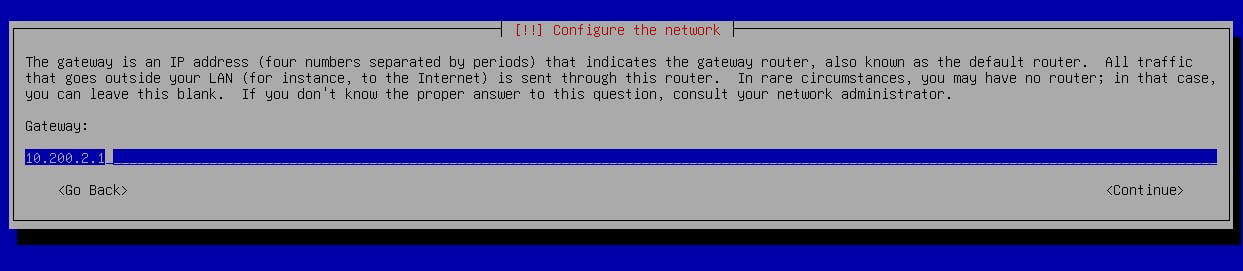
6
Set the name servers
Enter the DNS servers, space-separated. Provide a primary and a secondary for redundancy.Confirm both resolve names correctly from the appliance network.If only one resolver is given and it fails, categorization and update paths fail with it — SafeSquid cannot categorise a destination it cannot resolve.
7
Assign hostname and domain
Set a hostname that fits your naming convention, then the domain name.Confirm the resulting fully qualified domain name is the one you intend, and that both forward and reverse DNS entries exist for it.If the FQDN is wrong, directory integration is the first thing to break — Active Directory integration depends on it. Changing the hostname later means revisiting certificate and logging references, so settle it now.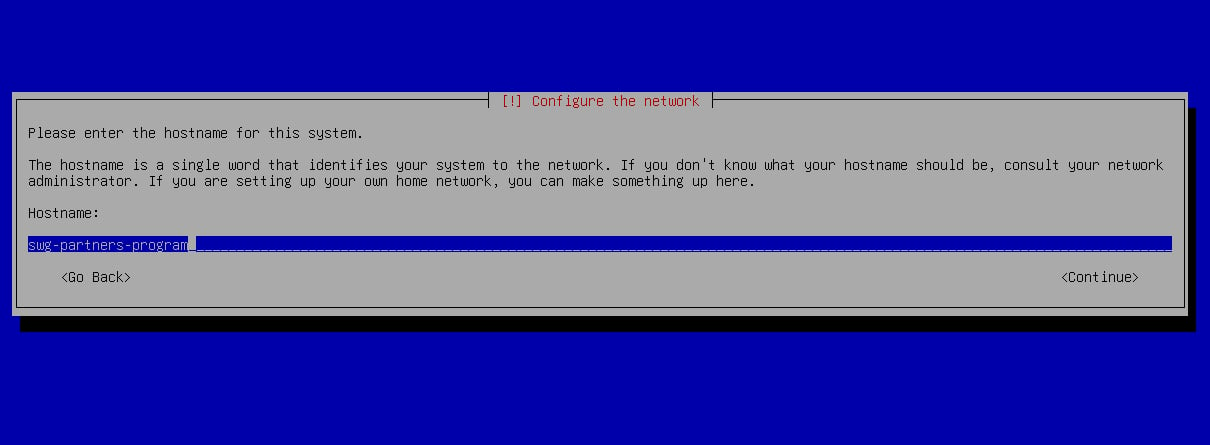
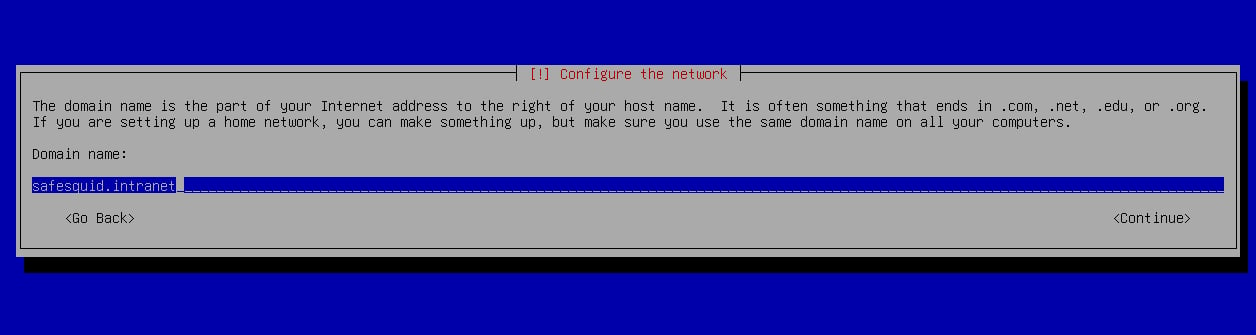
8
Select the package mirror
Choose the Debian archive mirror geographically closest to the server, preferring one known for bandwidth and uptime. Leave the HTTP proxy field blank unless your network requires an upstream proxy; the expected form is 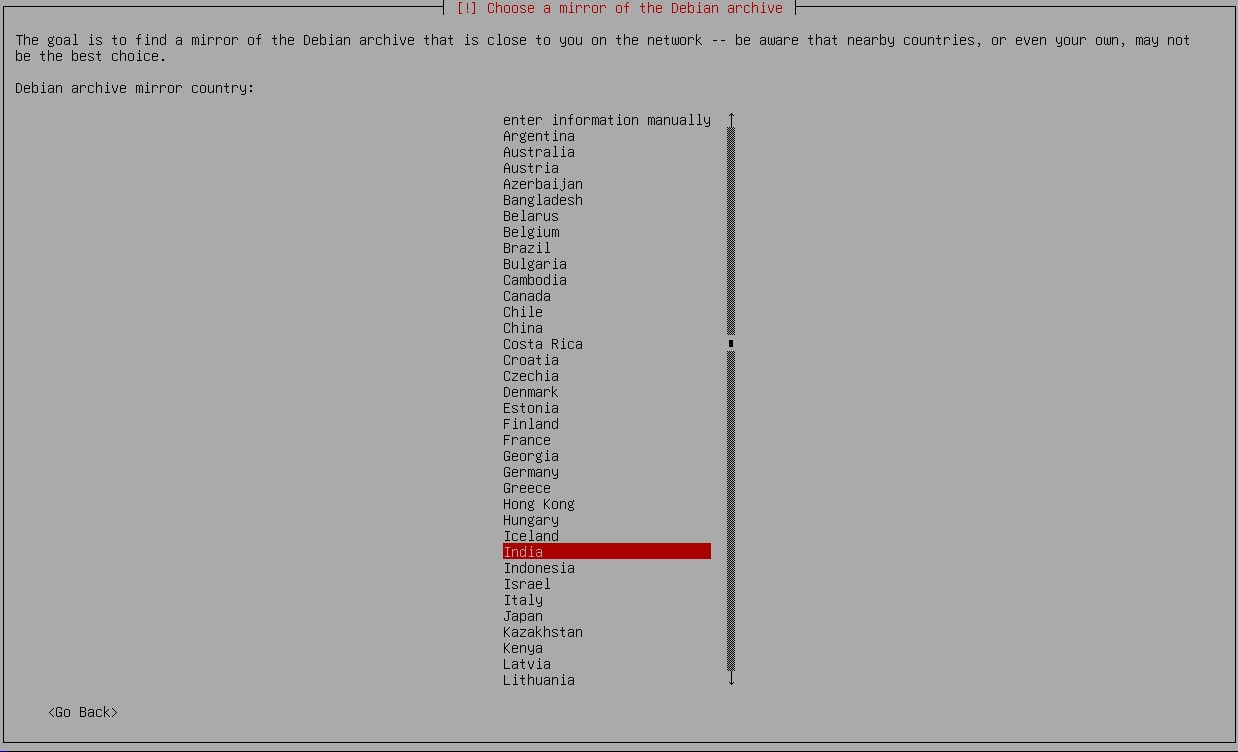
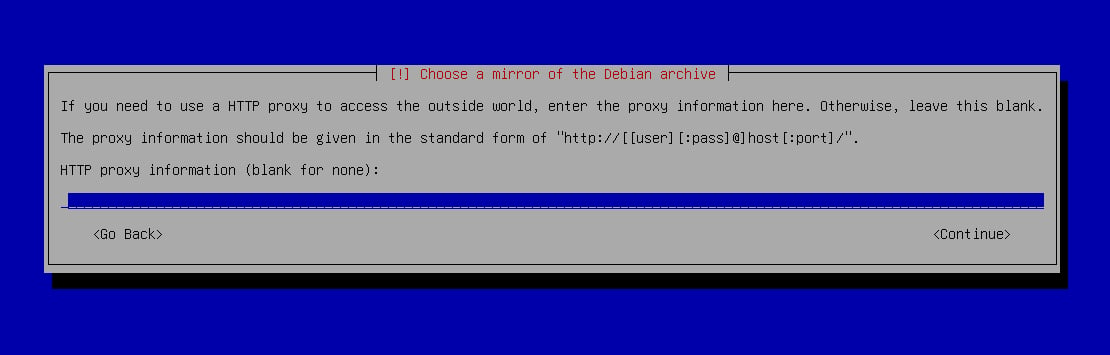
http://[[user][:pass]@]host[:port]/.Confirm the installer reaches the mirror and begins retrieving packages.If mirror selection hangs, outbound HTTP and HTTPS are blocked or an upstream proxy is required. Fix reachability before retrying.9
Confirm the disk and the GRUB target
SAB auto-partitions the selected disk. Select the target drive — typically 
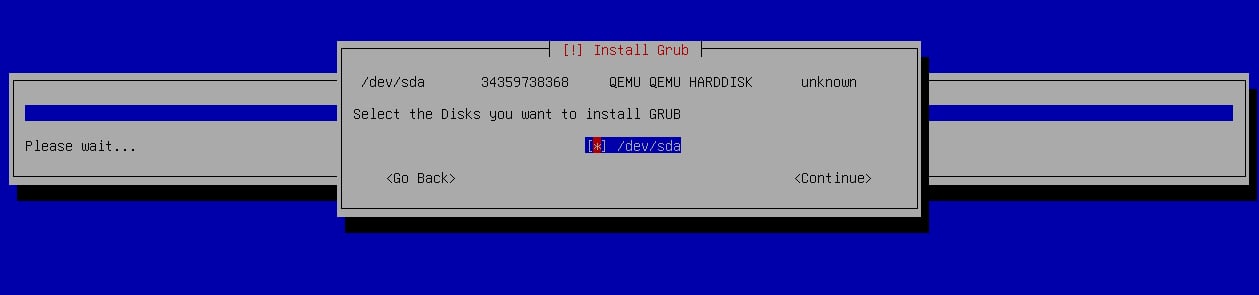
/dev/sda or /dev/nvme0n1 — for partitioning, then the same drive again for the GRUB bootloader.Confirm the selected disk matches the allocation approved for SafeSquid, and that the GRUB target is the same internal disk.If you are installing from a USB stick, unselect the USB drive at the partitioning prompt so it cannot be chosen by mistake.10
Wait for the automated build
The preseed script partitions the disk, installs the Debian base with security updates, installs SafeSquid with Monit and BIND9, applies hardening, and sets SafeSquid to start on boot. The host reboots by itself when it finishes.Confirm the progress screen advances and the host reboots without installer errors.If installation stops, capture the console error, correct package or network reachability, and rebuild from a clean boot.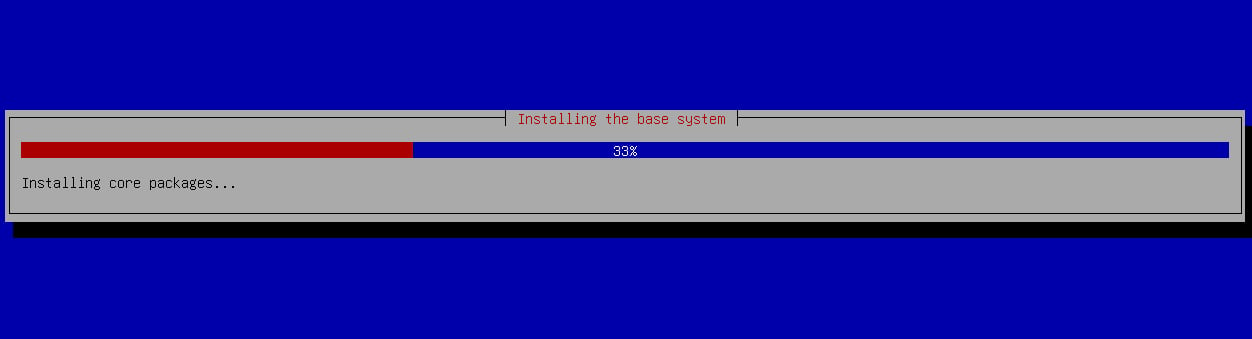
11
Log in and reset the password
Remove the ISO, let the appliance boot, and log in at the console with the default credentials 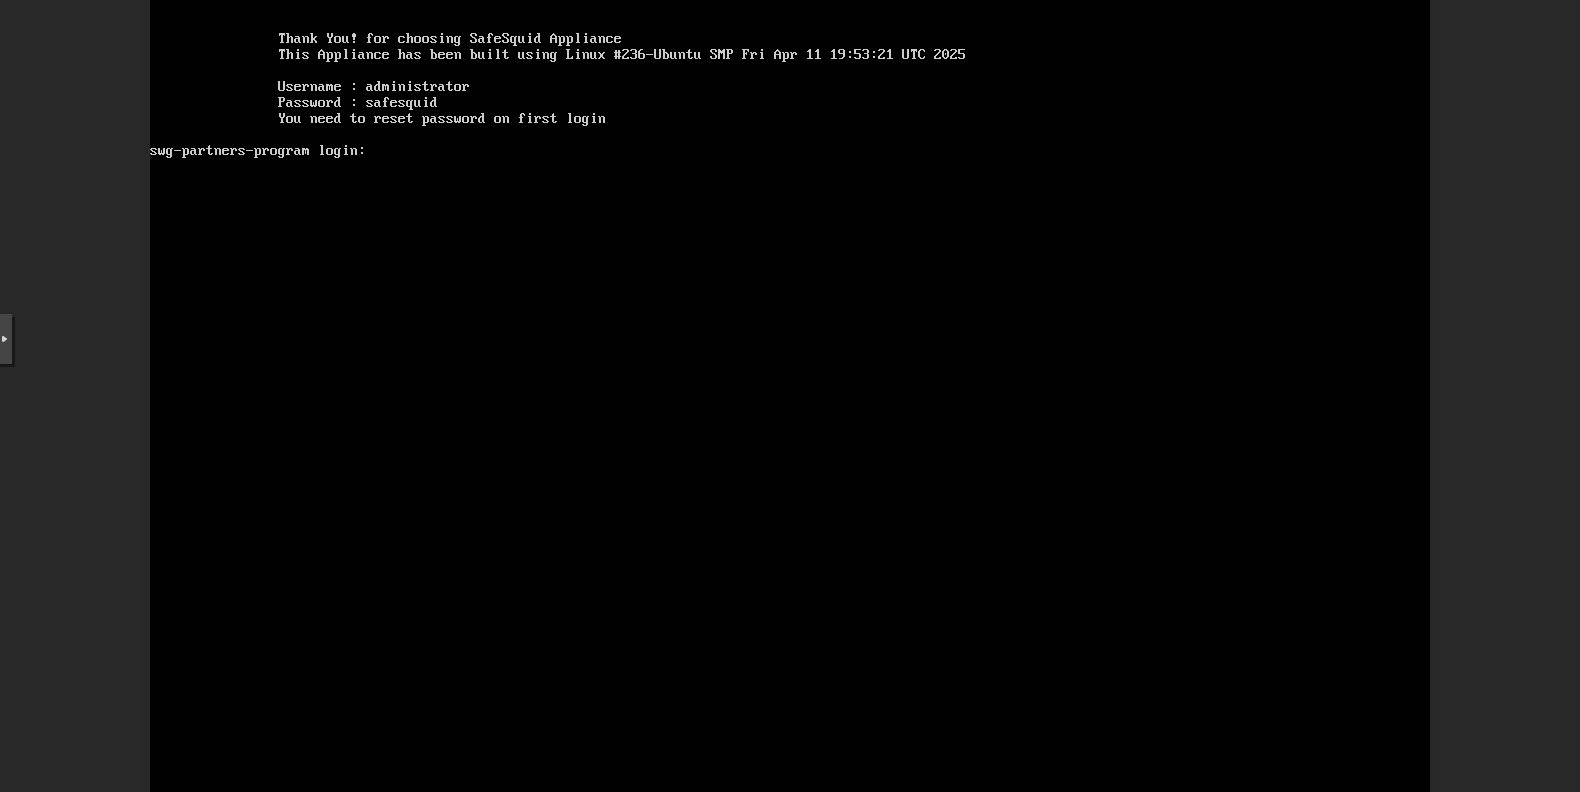
administrator / safesquid. The appliance requires a password reset on first login: re-enter the current password, then set and confirm a new one.Confirm the reset completes and the new password is stored under approved credential handling.If the host returns to the installer, remove the ISO from virtual media and check the boot order.Continue the install over SSH
Continue the install over SSH
Once network configuration completes, the installer offers to continue remotely. It displays the appliance address and a host-key fingerprint, and accepts a session as the user Expected result: the installer resumes in the SSH session at the prompt the console had reached.Compare the displayed SHA256 fingerprint before accepting the host key. This is useful for a headless server or a remote data centre — treat it as a management-network action and connect from an approved administrator workstation, not from a general user network.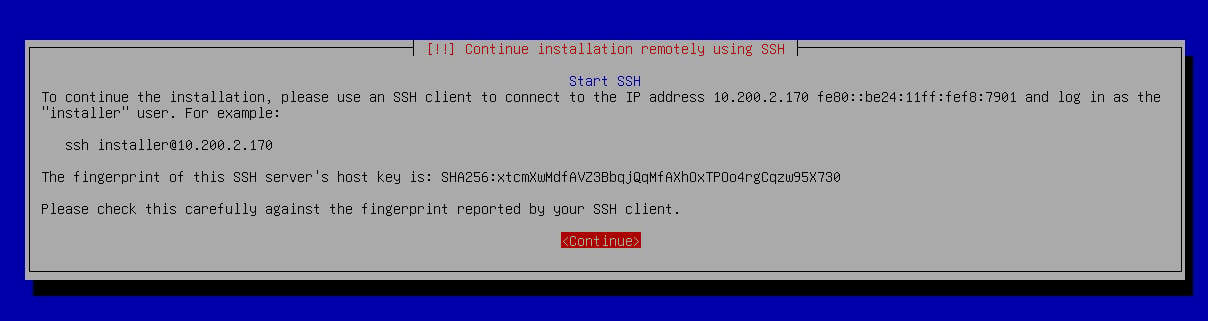
installer:Watch installation progress from another console
Watch installation progress from another console
The installer runs on a virtual console. Switch between consoles to see what it is actually doing, which matters when the main screen appears stuck.Expected result: the log advances, outbound connectivity succeeds, and the intended target disk is present and the size you expect.
Switch to the live log (ALT + F2) when installation appears stuck, network configuration fails, or partitioning errors appear — it distinguishes a slow step from a failed one.From the shell (ALT + F3):
Verify installation
After reboot, run these checks from the appliance console or over SSH. Confirm the service is running:Active: active (running) with no recent startup errors.
Confirm the proxy listener is bound:
0.0.0.0:8080.
Confirm the management interface answers, from an approved administrator network:
What the appliance installs, and where
What the appliance installs, and where
Use the direct
:8443 path only from an approved administrator network. It bypasses the proxy path that every other client uses, so it changes the trust boundary and should not become the routine way in.Hand off to activation
The appliance is built but not yet enforcing. Complete these before treating it as a control:- Configure a browser to use the appliance as its proxy — see Explicit Browser Proxy. The Configuration Portal is only reachable through the proxy path.
- Activate the instance from the portal — see Activate Your License.
- Set up HTTPS inspection and configure policy for your environment — see SSL Inspection.
- Install the SafeSquid certificate in the clients’ desktop trust store — see Import Certificate.
- Convert the appliance to SSH key-based login and disable password authentication for administrative access.
Capture appliance evidence
Store these artifacts with the deployment record:- Appliance hostname, FQDN, and IP address.
- VM or hardware asset identifier.
- ISO source, download date, and checksum where the process requires it.
- Disk and NIC allocation, and the disk selected for partitioning and GRUB.
- Service status and proxy listener output.
- Confirmation that the first-login password reset was completed, and by whom.
- First Configuration Portal access test.
- Activation key storage reference.
Troubleshoot installation
Next steps
- Access the Interface - open the Configuration Portal safely.
- Activate Your License - apply the activation key.
- Connect Your Client - prove pilot traffic flow.