

Configure Cloud Restore
Cloud Restore links backup and restore behavior to the SafeSquid activation key. It is useful for replacing or rebuilding appliances, but it does not restore the full operating environment.How Cloud Restore works
Backup process:- You make configuration changes in SafeSquid Configuration Portal
- Click Support → Restart SafeSquid and select Yes for cloud backup
- SafeSquid uploads
config.xmland SSL certificates to cloud storage (linked to your activation key)
- Install SafeSquid on new or rebuilt appliance
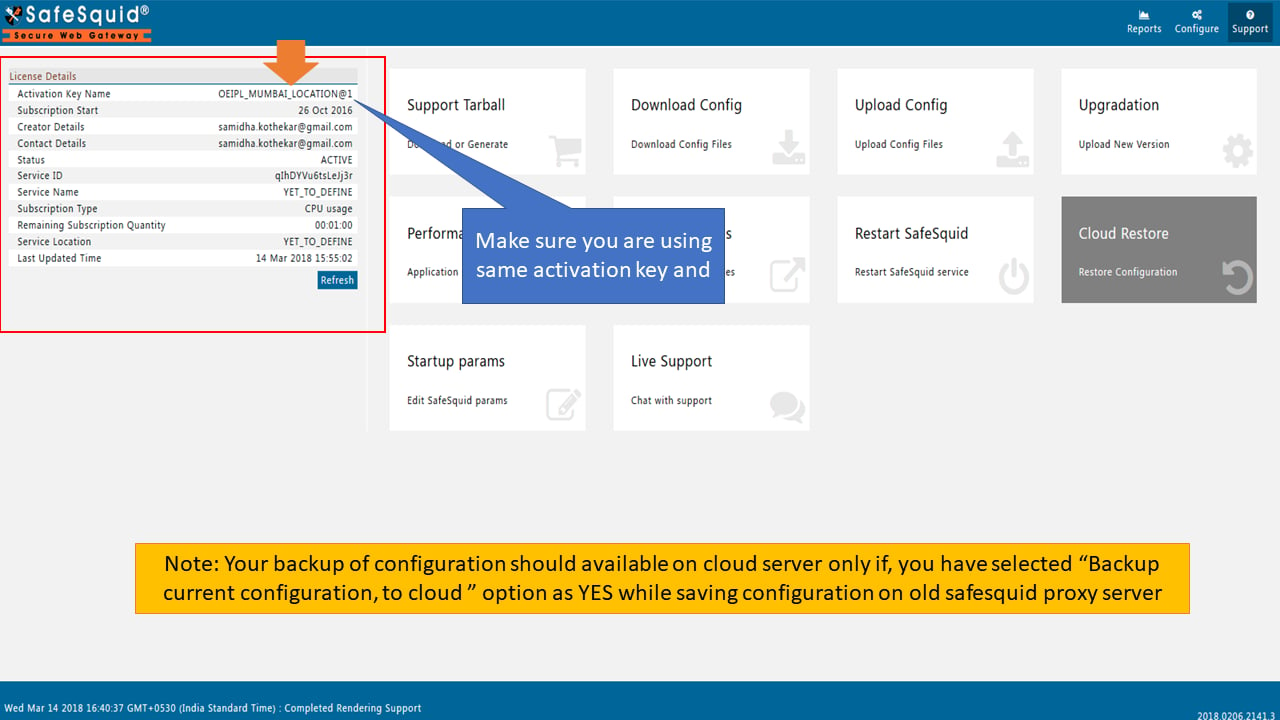
- Activate with the same activation key used for backup
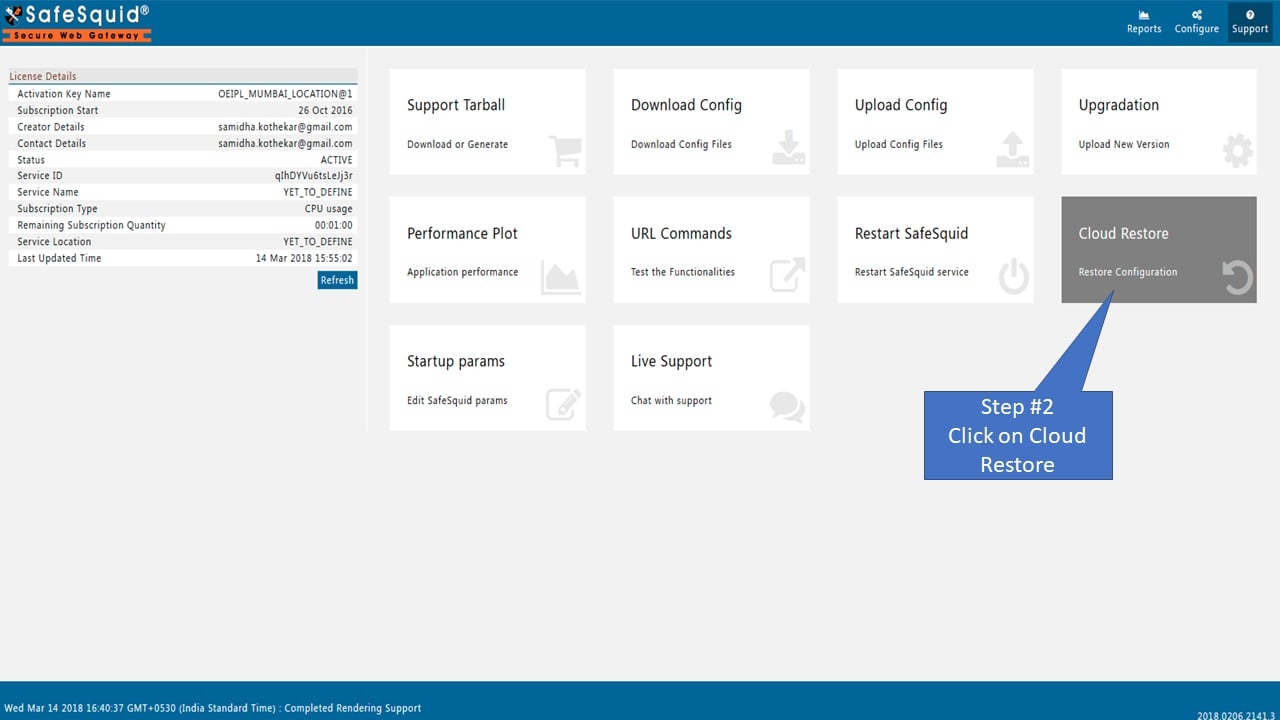
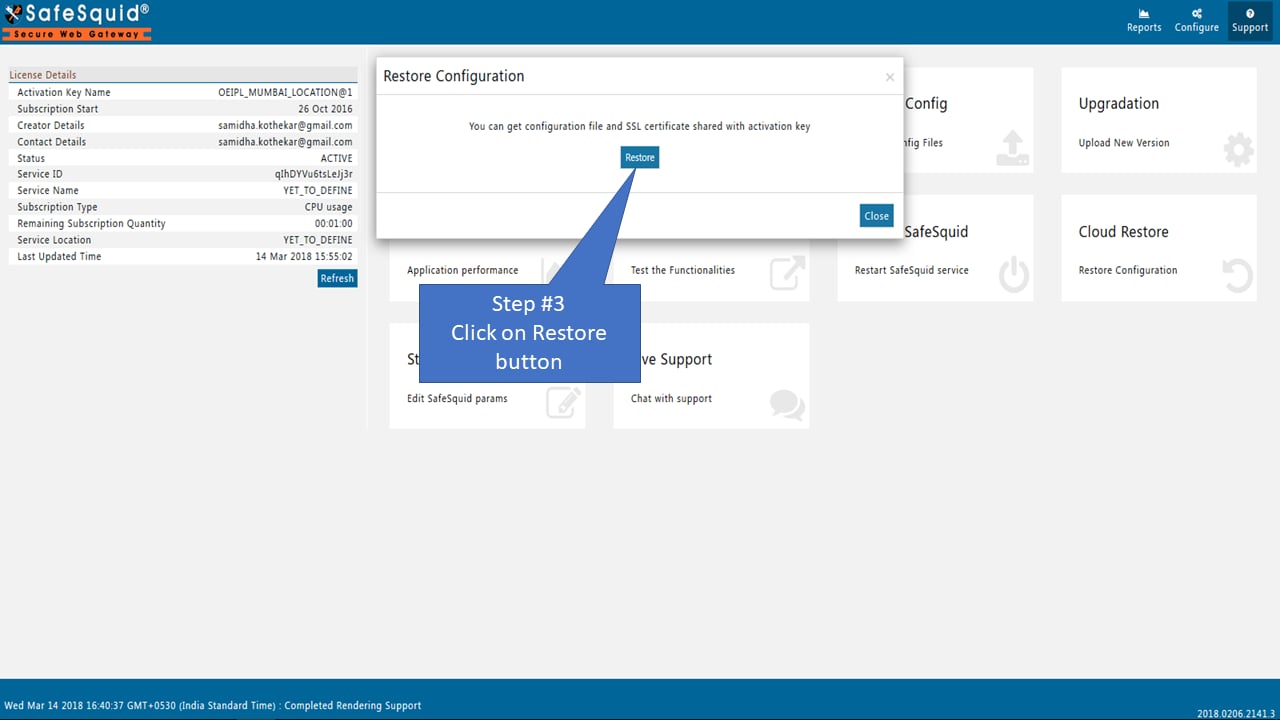
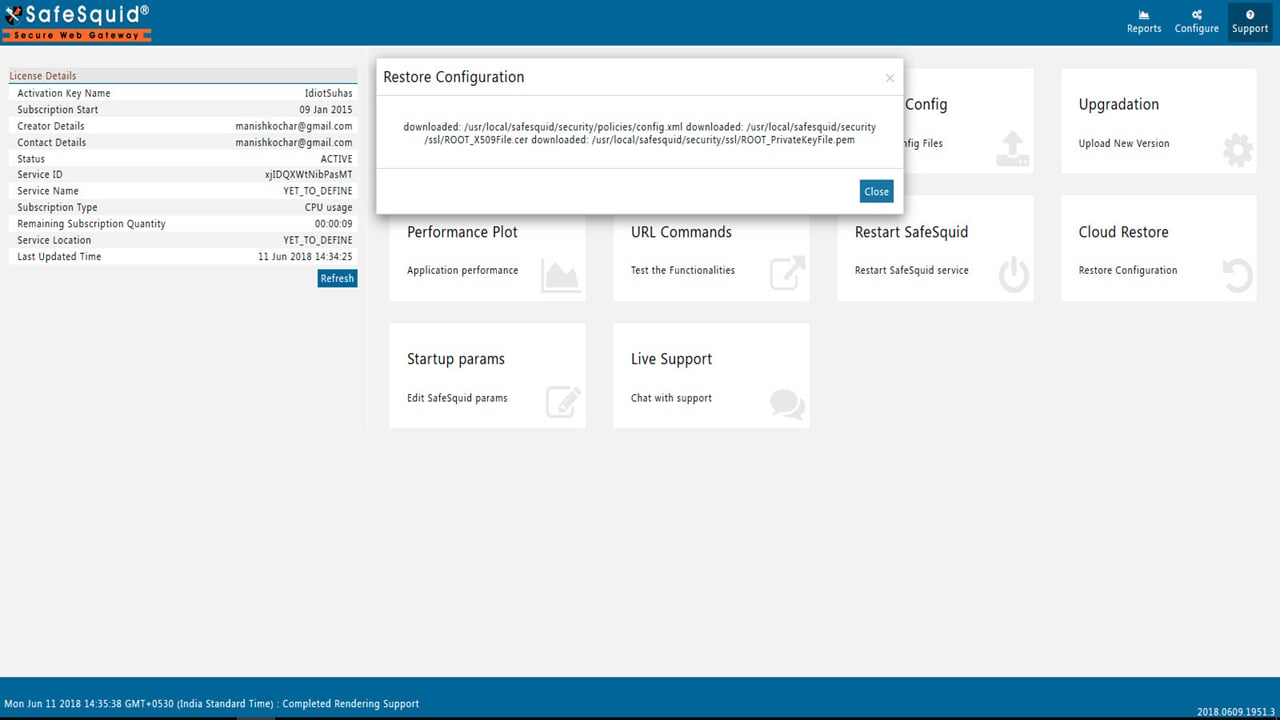
- Click Cloud Restore in Configuration Portal
- SafeSquid downloads and applies the backed-up configuration and SSL certificates
- Restart SafeSquid to apply restored settings
/usr/local/safesquid/security/policies/config.xml(all policies and settings)/usr/local/safesquid/security/ssl/ROOT_X509File.cer(SSL root certificate)/usr/local/safesquid/security/ssl/ROOT_PrivateKeyFile.pem(SSL private key)
Prerequisites
- SafeSquid installed and activated with the same activation key on both backup and restore appliances
- Internet connectivity to SafeSquid cloud storage
- Monit service running (required for automatic service restart after restore)
- A recovery runbook for settings Cloud Restore does not restore, such as network configuration and third-party integration secrets
Configure Cloud Restore
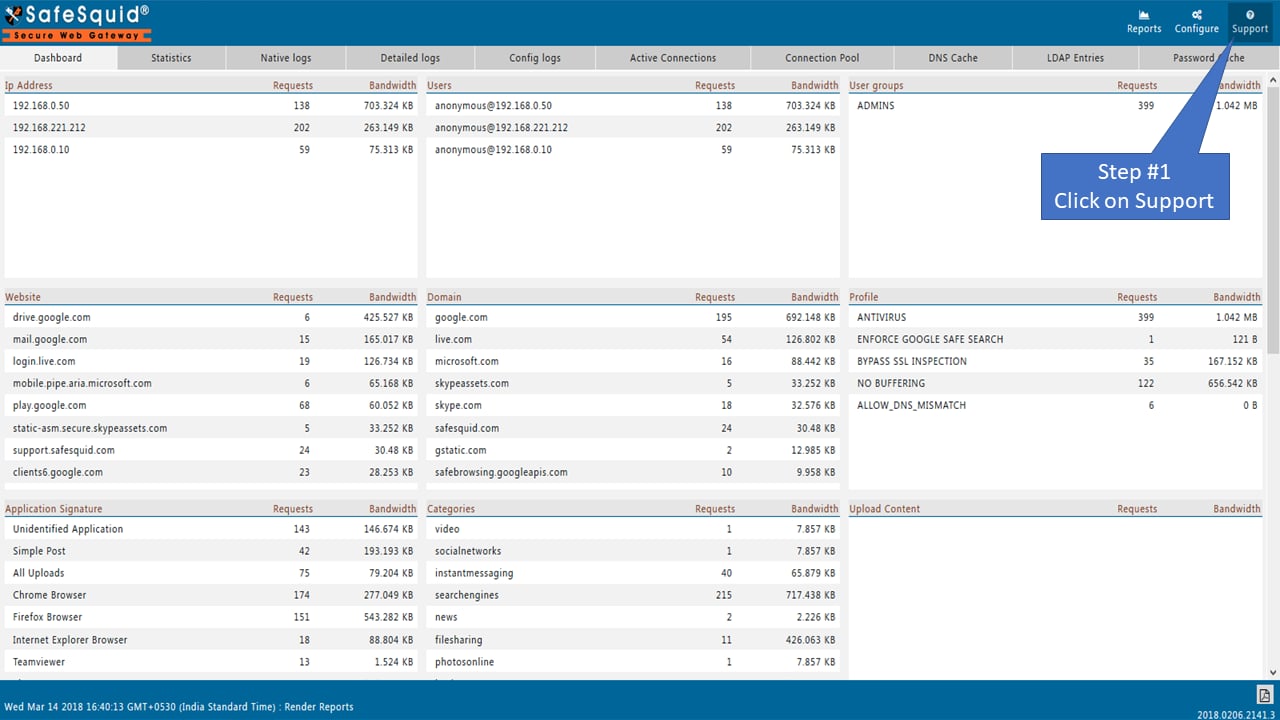
Access the SafeSquid User Interface
Verify restoration
- Open the Configuration Portal.
- Navigate to Configure → Application Setup → Access restrictions (or any configured section).
- Confirm policies match the state from your original appliance.
-
Check the SSL certificate: there is no distinct “SSL Inspection” section in the console
(confirmed live, 2026-08-28, build
2026.0627.1344.3) — HTTPS-inspection policy lives as individual rule entries inside Configure → Restriction Policies → Access Profiles (for example aBYPASS SSL INSPECTIONAdded Profile value). Confirm those entries match the original appliance, and separately confirm the certificate details match the original CA by inspecting the certificate in a client’s browser. - Test client connection to verify proxy functionality.
- interface IP and routing
- DNS and NTP behavior
- directory integration secrets or external connector settings
- traffic flow through the rebuilt appliance
Trigger manual backup before major changes
Before making risky configuration changes, trigger a manual backup:- Configuration Portal → Support → Restart SafeSquid
- Select Yes when prompted “Backup current configuration to cloud?”
- Click Submit
Troubleshooting
“No cloud backup found” error:- Verify you’re using the same activation key that was used for backup
- Check internet connectivity:
ping cloud.safesquid.com(or SafeSquid cloud endpoint) - Ensure a backup was actually created (restart with “Yes” for cloud backup on original appliance)
- Verify you restarted SafeSquid after restore: Configuration Portal → Support → Restart SafeSquid
- Check file permissions:
ls -l /usr/local/safesquid/security/policies/config.xml(should be owned by safesquid user) - Check logs:
tail -f /var/log/safesquid/extended.log(look for restore errors)
- Verify certificate files exist:
- Reimport SSL certificate to client browsers if needed: Import Certificate
- Check Monit status:
systemctl status monit - Verify Monit configuration includes SafeSquid:
monit status - Manually restart if needed:
systemctl restart safesquid